Listennnnnnnnnn, MOST store-bought bread is absolutely atrocious! Not only are they filled with ingredients that have no business being in food to begin with (like conditioners [?!] to make bread soft and pillowy) but they’re downright terrible for you.
I knew I had to quit store-bought after seeing the additives, processing aids and emulsifiers being added to the even more high-quality, expensive breads out there, which is why I spent a lot of time perfecting a sandwich bread recipe from scratch. And for those who know and grew up on wonderbread and sara lee…well, they’re dead to me.
Now I know I’m about to break some hearts when I say this but…they aren’t even considered bread at this point. It’s bad enough they can sit and last on your kitchen counter for WEEKS and even months. That’s because the bread you buy from the store is already weeks old from when it was made, packaged and delivered.
*FYI, that’s not normal!
This post contains affiliate links. All products and links listed on TML are affiliates through 3rd parties such as Etsy and Amazon. Meaning, at no cost to you, by clicking and purchasing through those links I will earn a small commission. To learn more read TML Terms and Disclosure.

Much of our food has literally been altered to suit convenience, and we’ve fallen for it – even if we know it’s bad for us – for the sake of saving time and at the expense of life skills.
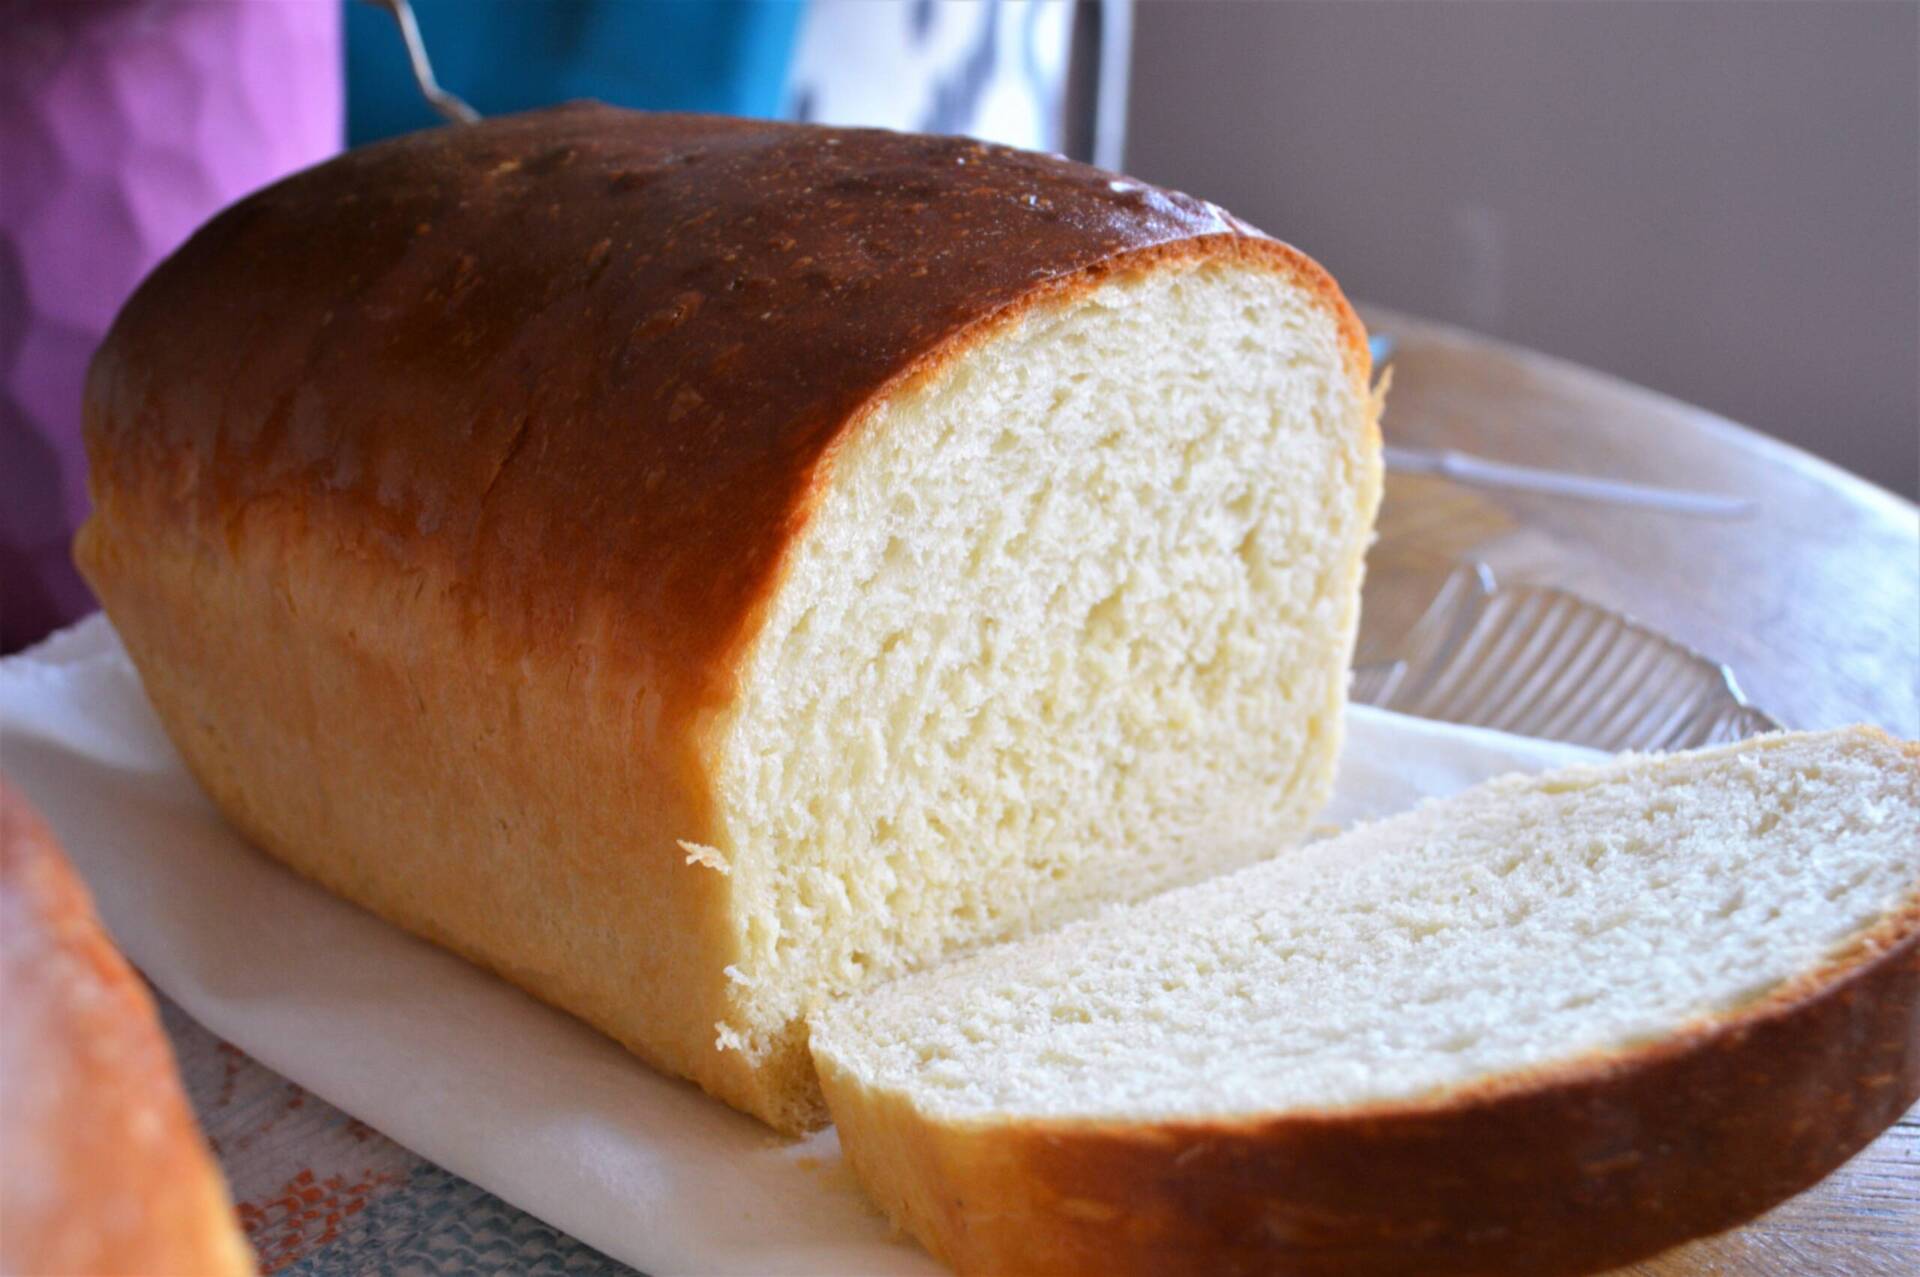
Anywho, as someone who loves bread – the garlic bread, sandwiches, grilled cheese, croutons, pizza, french toast, etc. etc. – I refuse to compromise my carby faves, and I don’t want others to, either. This loaf bread recipe is so easy, it’s almost impossible to screw up once you get the hang of it, and it’s only 7 ingredients commonly found in your kitchen! YES, I said SEVEN.
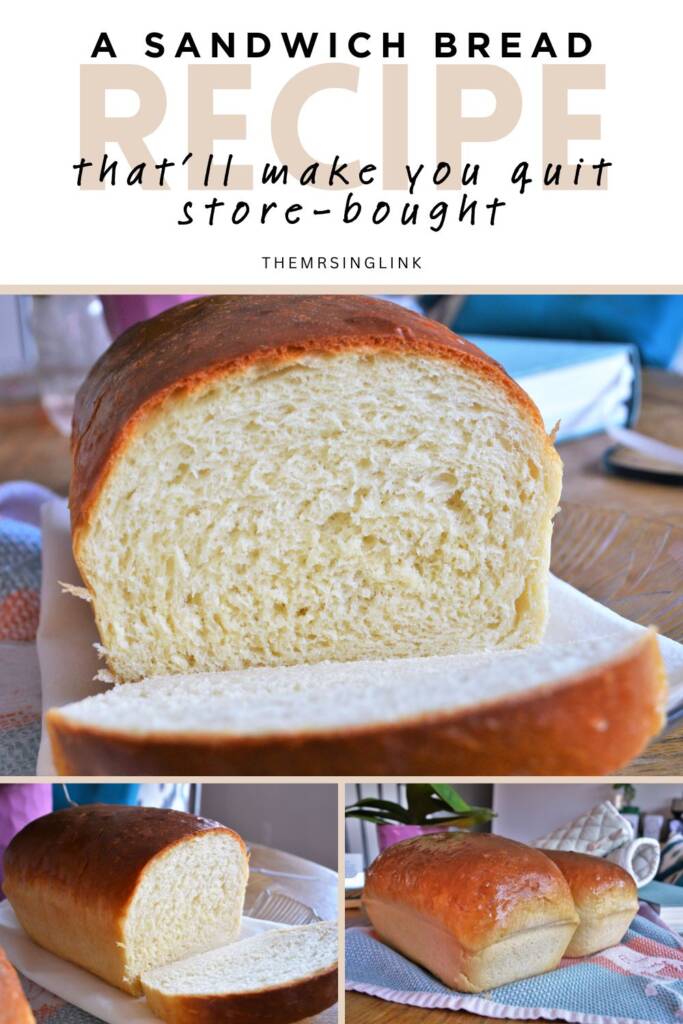
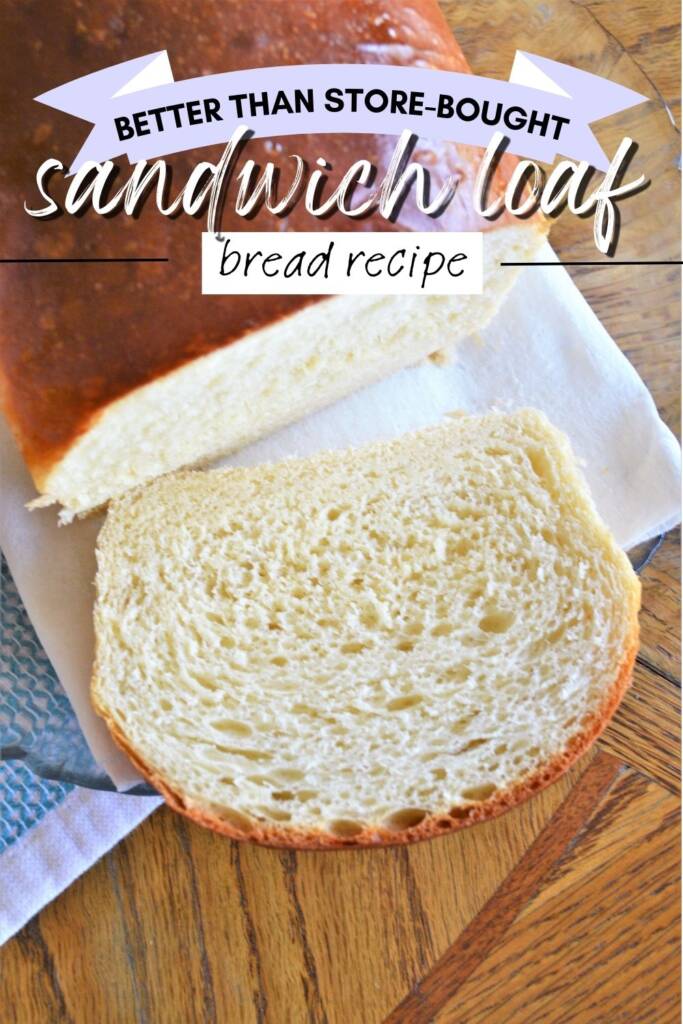
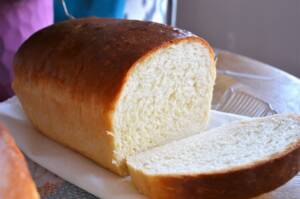
A sandwich bread recipe so easy you’ll quit store-bought!
Hey! After you’ve pinned, downloaded, jotted down or printed this recipe…come back up here if you’re looking for a cost breakdown, storing and freshness tips, bread tools that’ll make your life of bread making much easier and the list of the exact brands of ingredients I use for making my bread. Now get on with your bad, bread-making self!
Storing & Freshness Tips:
- Key #1 for maximizing freshness: retaining moisture. To keep your bread soft and moist longer, you want to store your loaves in an air-tight container and/or bread bags.
- Key #2 for maximizing shelf life: allow loaf to completely cool before storing. I can’t tell you the number of times my bread went moldy sooner because I put it in the bag while it was still warm, creating a continuous condensation effect inside the bag. This speeds up the molding process.
- *Personal tip: once you’ve cut or sliced into your bread, store the loaf with the open face away from the bag opening.
- *Personal tip: if you’re making more than one loaf, store the others in the freezer using the same storing process as above (storage container and bags).
- *Personal tip: if you don’t go through a whole loaf within 4-5 days and you want to preserve your loaf for longer, cut your bread slices ahead of time and store only what you will use for the week and then store the rest in the freezer.
Bread Tools You’ll Actually Be Glad To Have: while these are only recommend and not required, I will put an * next to the tools I think are the most helpful and crucial for consistent bread-making.
- Food Kitchen Scale with Bowl
- KitchenAid Stand Mixer (*, though not required and you can easily make bread by hand, this DOES make it much, much easier if you’re making bread often, want to save more time and create less mess)
- Bread Wisk, Dough Divider and Bowl Scraper, Bread-making Blades
- Anchor Hocking Set of 3 Glass Bread Loaf Pans*
- Loaf Baking Pan (Carbon Steel) with Sliding Lid*
- Bamboo Bread Slicer*


![Healthy Birthday Cupcake Recipe For Dogs [With Apple + Squash] | If you're looking for a healthy version of a cupcake (or pupcake) for your furbaby, this recipe is only 6 all-natural ingredients and made in under 20 minutes! Celebrate your dog's birthday right - with doggy cupcakes! #cupcakes #dogrecipes #dogmoms | theMRSingLink](https://themrsinglink.com/wp-content/uploads/2019/11/Healthy-Birthday-Cupcake-Recipe-For-Dogs-With-Apple-Squash-3-300x199.jpg)
What Brands I Use To Make My Bread: *No, this post is not sponsored, I promise.
- All Purpose Flour: Bob’s Red Mill Unbleached All Purpose Flour (organic or nonorganic, doesn’t matter)
- Active Dry Yeast: Bob’s Red Mill Active Dry Yeast
- Milk or water: Fairlife/Organic Valley (I vary) or water (*free)
- Unsalted Butter: Organic Valley’s Unsalted Butter
- Salt: Redmond’s Unrefined Mineral Real Salt
- Eggs: Handsome Organic Pasture-rasied Eggs (really, any egg will do, but I highly advise at least going free-range)
- Sugar OR Honey: Wholesome Regenerative Fair Trade Organic Turbinado Sugar OR Local Hive Rocky Mountain Honey
Cost Breakdown (What *I* Spend, Estimated Cost Per Loaf):
- Flour: ~$9.99/5lb. (~$2.99/lb); I use approximately 3.5 cups per loaf, and a 5lb. bag contains ~18 cups, so rounding down a 5lb. bag of this flour gives me roughly 6 loaves. On average, I spend about $1.60 per loaf on flour.
- The other ingredients that may make this loaf a bit more costly: butter, milk and eggs. Milk and eggs are actually optional ingredients for this recipe. Not using them, however, may slightly alter the result of this recipe, but honestly, it’s not very noticeable. The milk adds fat to the bread while the eggs create a more *stretchy* dense texture. With the butter and these two optional ingredients in mind, that’s approximately $.56 per 1/4 cup of butter, $.58 per egg and $.56 per cup of milk with a total of $1.70 and added to the flour total that is now ~$3.30 per loaf.
- This total is without considering the honey/sugar, salt, and yeast, which are pennies for how many loaves you can make with those ingredients! At the end of the day, most people are spending that or more a week on store-bought bread. Is this breakdown convincing enough to give it a go?!
A Simple Sandwich Bread Recipe
Equipment
- KitchenAid Mixer (with kneading attachment) *Optional
Ingredients
- 5-6 Cups All purpose or bread flour *Amount varies with your environment's humidity (so, for me, in the summertime with high humidity I use a touch more flour)
- 2 Cups Water or milk *Milk contains fat, which does help to make a moist, softer, more pillowy texture. BUT, water works just fine as well.
- 1/4 Cup Melted butter (unsalted) *You can also use Ghee or Coconut Oil
- 1/4 Cup Sugar or honey
- 1 Egg *Totally optional, BUT I find the egg creates a stretchy bread (less crumbly) with a rich flavor.
- 1 Tsp Salt
- 1 Tbsp Yeast *You can use the same amount for the active, quick rise yeast
Instructions
If you are using Active Yeast
- Start by adding 1 Tbsp of Active Yeast to a large mixing bowl. You can also add in your 1/4 cup of honey or sugar to the bowl at this point.
- Measure out your 2 cups of either milk or water in a separate cup and bring to around 110 degrees F. Add to your Active Yeast bowl and stir thoroughly. Then you are going to cover the bowl with a towel and allow to rest for at least 10 minutes. Your yeast should be foamy at the surface (if not, your liquid was either not warm enough or too hot and it killed your yeast – start over again).
If you are using Quick Instant Yeast
- Start by adding a packet (or 1 Tbsp) of Instant Yeast into a large mixing bowl.
- Then add your 2 cups of either milk or water to the bowl with the yeast (this does not need to be warmed). Add the 1/4 cup of honey or sugar and mix together thoroughly.
Incorporating the other ingredients to the dough
- Crack in your two eggs, 1/4 cup melted butter and salt to the bowl. *The eggs are also optional, so you are welcome to do without, but I find that the eggs create a very nice, rich texture and flavor!
- Then start by adding in your flour one cup at a time. *Optional: after 2 cups, allow your dough to rest covered once you have fully incorporated the 2 cups of flour. This, I've read, allows the gluten to process. But, you're more than welcome to skip this step.
- You want to add your dough slowly after the 4 or 5-cup mark. You don't want your dough to be too sticky, but also not too, too dry. *The amount of flour for 2 loaves is an average of 5-6 cups, and this heavily depends on the time of year as well as the humidity in your environment. For instance, warmer climate for me means I use slightly more flour in the summer (~6 1/2 cups) and slightly less during the drier winter months. This is something you will have to figure out by trial and error, so the amount of flour isn't an exact.
- Knead the dough for at least 8 minutes. You can either do this by hand or in a mixer. I find its easier to do in the mixer, but if you're a newbie you really should do it by hand in order to get to know "the feel" of how your dough should be. Again, not too wet and sticky but not so dry and hard that it's impossible to knead.
- After kneading, shape dough into a round ball and place back in the original bowl. Cover with a cloth or plastic wrap and place in a lukewarm spot to proof for at least 2 hours (somewhere thats around 75-80 degrees F). A good range of places for this is in your oven, microwave (with the door cracked open so the light is on), in your garage or on your kitchen counter during warmer times of the year. Avoid places that get *too warm*, otherwise you run the risk of your dough over-proofing.
- Your dough should about double in size when it is ready to be divided and shaped into your loaf pan molds. *If your dough is flat, super bubbly and *wet* looking, you might have either 1. over-proofed, 2. proofed in a location that was too warm or 3. you might not have added enough flour to your dough mixture.
- Remove your dough from the bowl and lightly knead a few times. Then shape into a ball and divide your dough in half as best as you can.
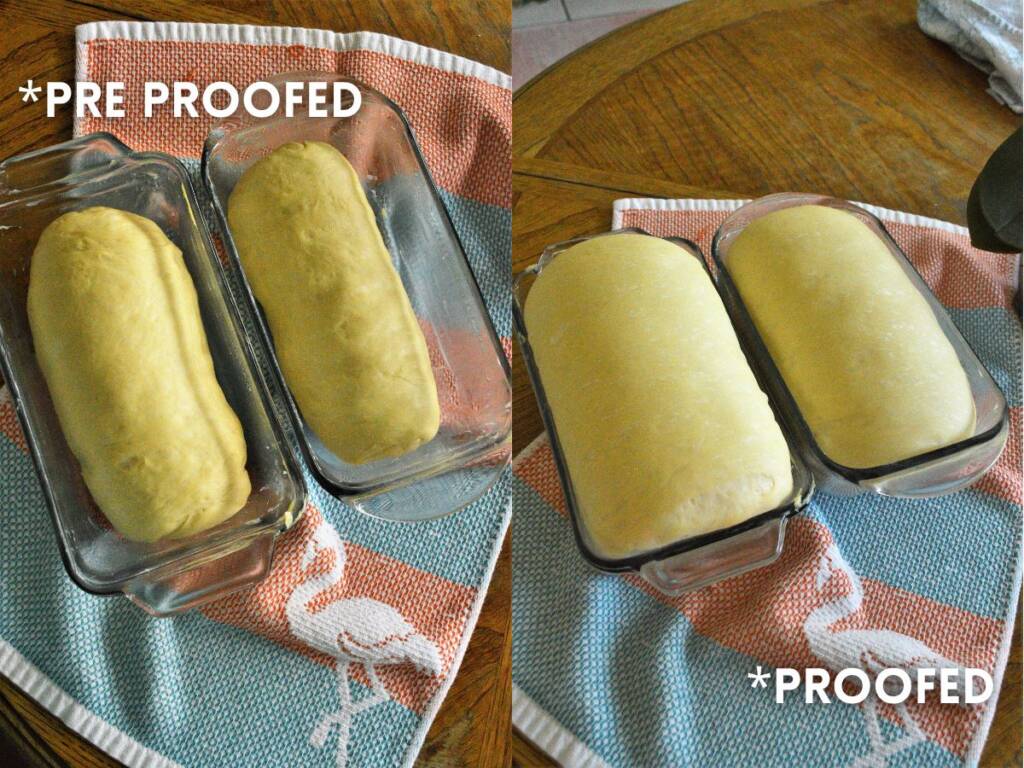
- Butter or oil your loaf pans prior to placing your dough in the pans. With half the dough, use your fingers to flatten into a rough rectangle to fit the loaf pan. Start at one end and roll the dough so it creates a *log* shape. Pinch the crease and the edges before placing in the loaf pan. *Refer to the image below this recipe card of the loaves pre proof.
- Repeat the step above with the other half of your dough and allow loaves to rest, covered with a towel, and proof once again for at least another hour.Your loaves should not be flat or super bubbly and *wet*. If so, you might have over-proofed. *Refer to the image below this recipe card of the loaves once they are proofed.
- After your loaves have proofed and risen, pre-heat your oven to 350 degrees F. *My baking method: I simply add my loaf pans to the oven, then start the pre-heating process – setting the total bake timer to 30 minutes. Again, this is my method and what works for me.
- For loaves in glass pans: Bake for 30-35 minutes, turning pans half way.For loaves in dark or metal pans: Bake for 30 minutes, turning pans half way.
- Once removing your loaves from the oven, (*optional) coat the tops of your loaves with more butter. Allow to completely cool for at least 30 minutes on the counter. *You may remove your loaves from their pan immediately out of the oven, but just be careful because they're extremely hot.
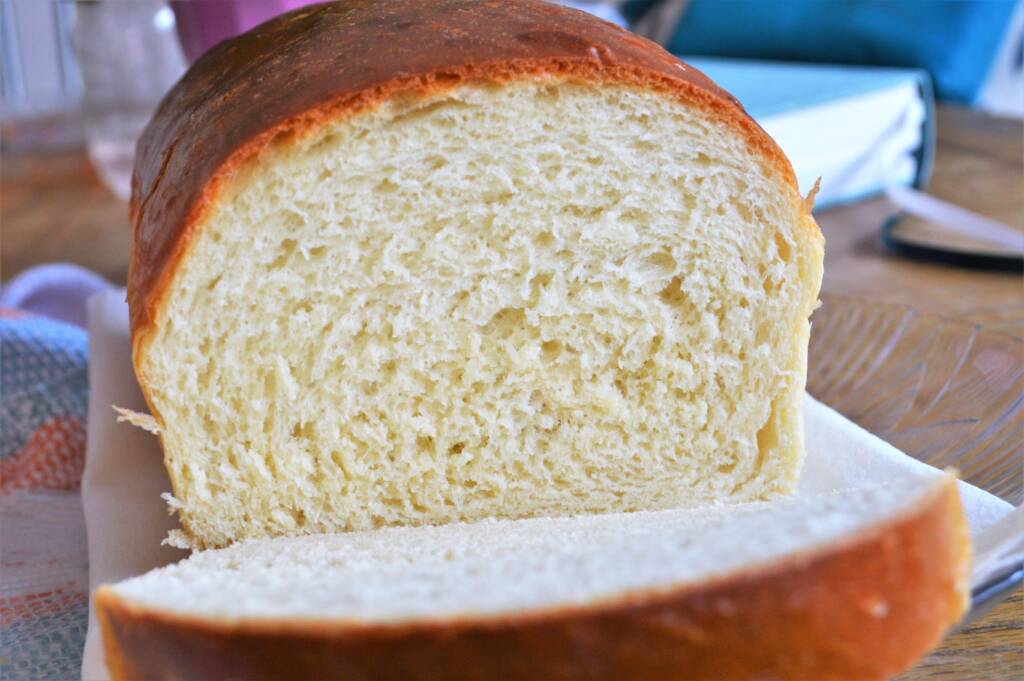
- Slice, eat and enjoy! Use this bread for making top-notch grilled cheese, French toast, eggs in a basket, PBJ and of course any of your sandwich favorites!
Notes