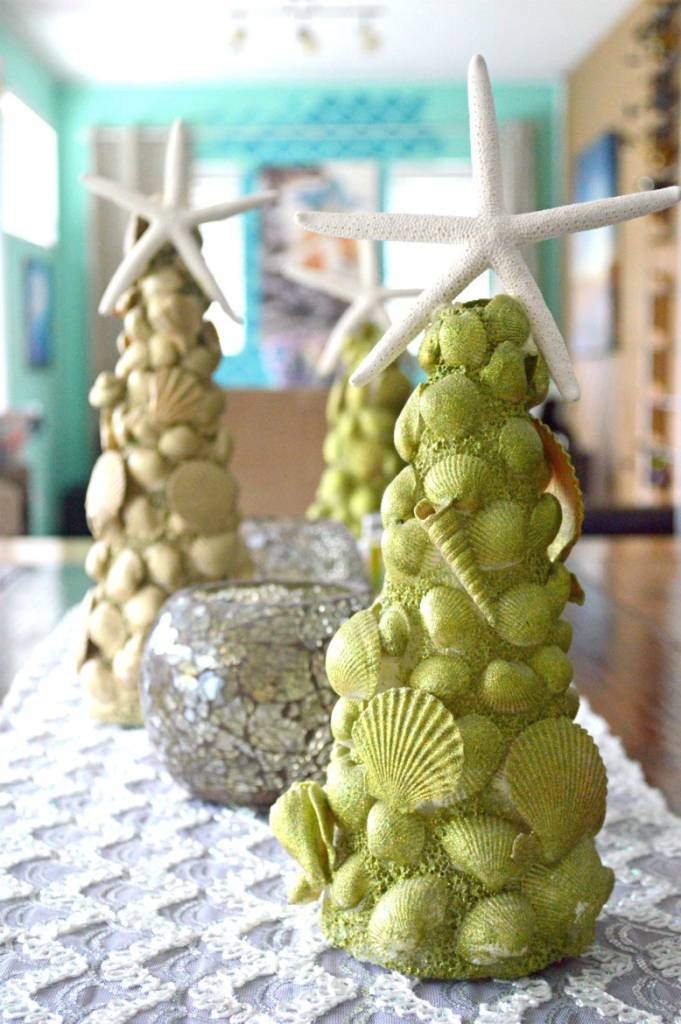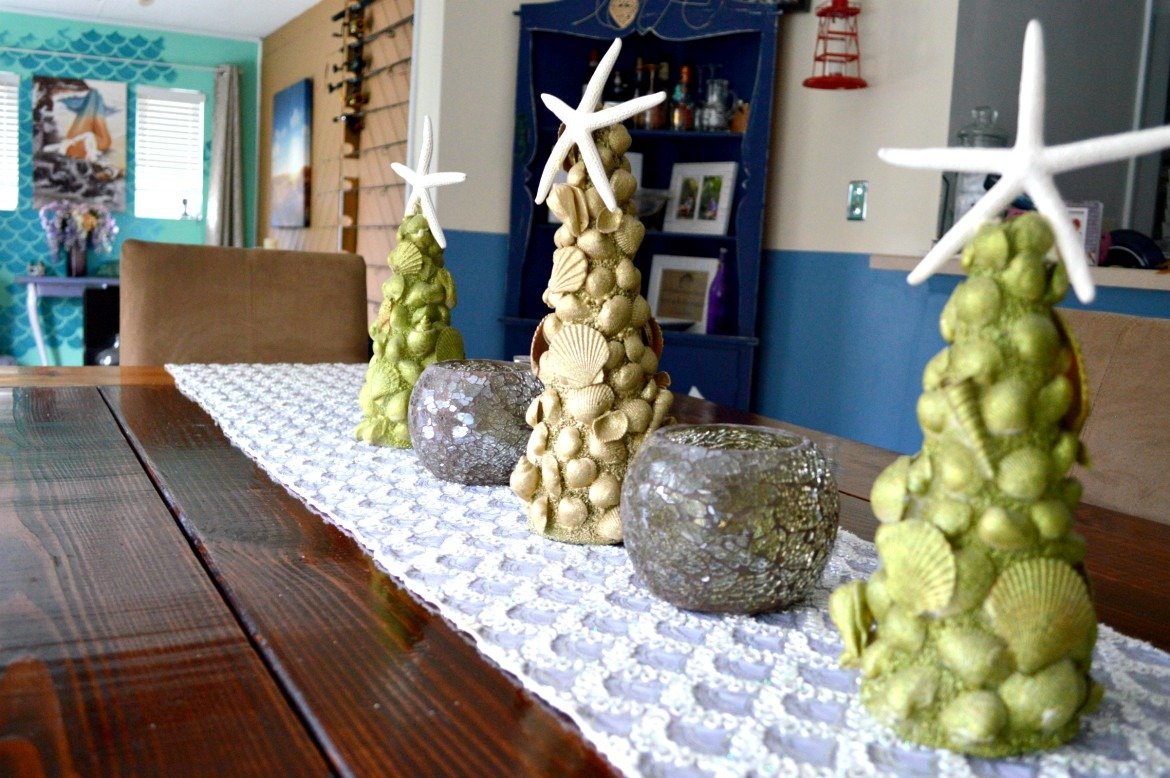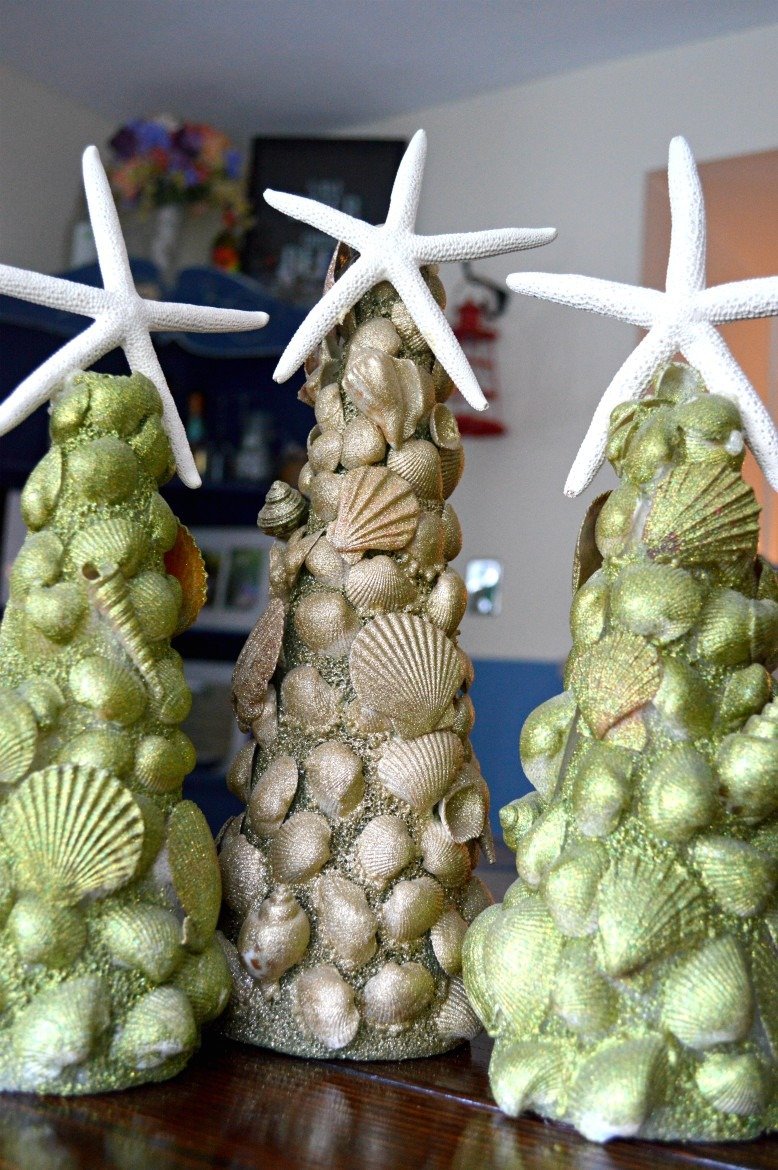
I made these adorable seashell Christmas trees a few years ago. They’ve held up all this time – a few shells get loose here and there, but all in all they are one of the main staples to my Florida Christmas Coastal Decor. I went a little spaztic when I saw a similar idea somewhere online – I finally had something to make use of all the shells I collected with nothing to do with!

DIY coastal seashell Christmas trees
These were so easy to make – all you need to make sure you have is a simple glue gun, clear glue sticks and the items I have listed for you below – which all can be found at Michaels for around $35-$40 to make 3 trees. And Michaels always has a coupon, so be sure to use it. If you have shells already, then you’re saving yourself more!
The only thing about these pieces are that they are delicate – I have to store them carefully, on their sides – not tucked away anywhere. Otherwise, shells can become loose or fall off. But these guys are just too cute, it’s so worth letting them sit out by themselves in a closet. Every time I have guests, the trees are always noticed at this time of year.
What you’ll need:
Depending on how many trees you want, you’ll need a decent amount of shells, starfish and foam cones. And the cones come in different sizes, so I went with one cone taller than the others. It creates subtle variation, as well as using two different glitter spray paint colors. These are options up to you to do ahead of time.
Step 1:
With your glue gun, start from the bottom up by gluing your shells to the cone (glue them on very well – don’t be afraid to use a lot of glue – you’ll be spray painting over it later). Vary shell types, and don’t be afraid to overlap them, just continue going in a spiral motion as you’re adding them up the cone. It makes it easier when fitting the last few pieces on the top!
Step 2:
Allow your shells to completely dry to the cone before spray painting. Spray the glitter paint a good distance away from the tree – to avoid clumping and dripping. You can decide whether you want some of the color from the shells to show through the paint, or add the paint in layers to completely cover the trees in glitter. You may be able to tell from mine you can vaguely see the color of the shells popping through.
Allow the paint to dry for up to 2-3 hours, or best overnight.
Step 3:
Hot glue your starfish to the top of the tree. How and where you glue it is up to you – but make sure it will stay! Two of my trees I glued the starfish by it’s legs, and the taller tree I glued at it’s center – you’ll notice from the displayed images. I was unsure as to which would hold longer, but they’re all still intact today!
And that’s it! Use these adorable DIY Christmas shell trees as table top centerpieces, shelf decor, or home accents for the Holidays.

