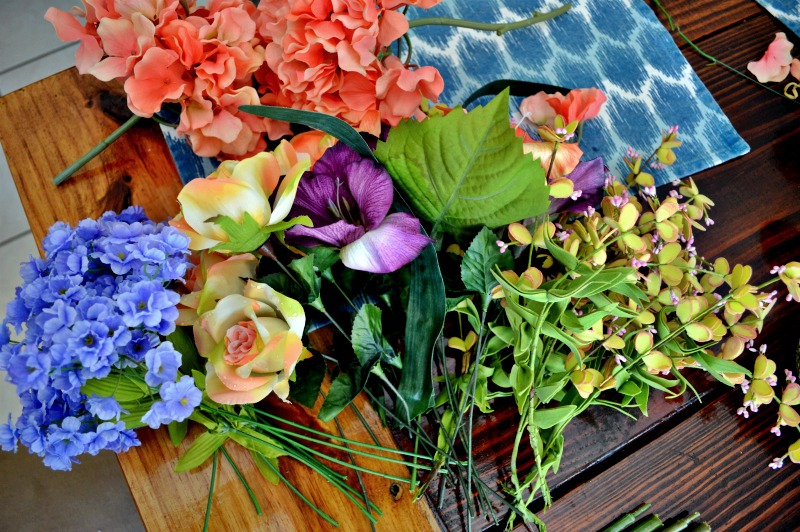
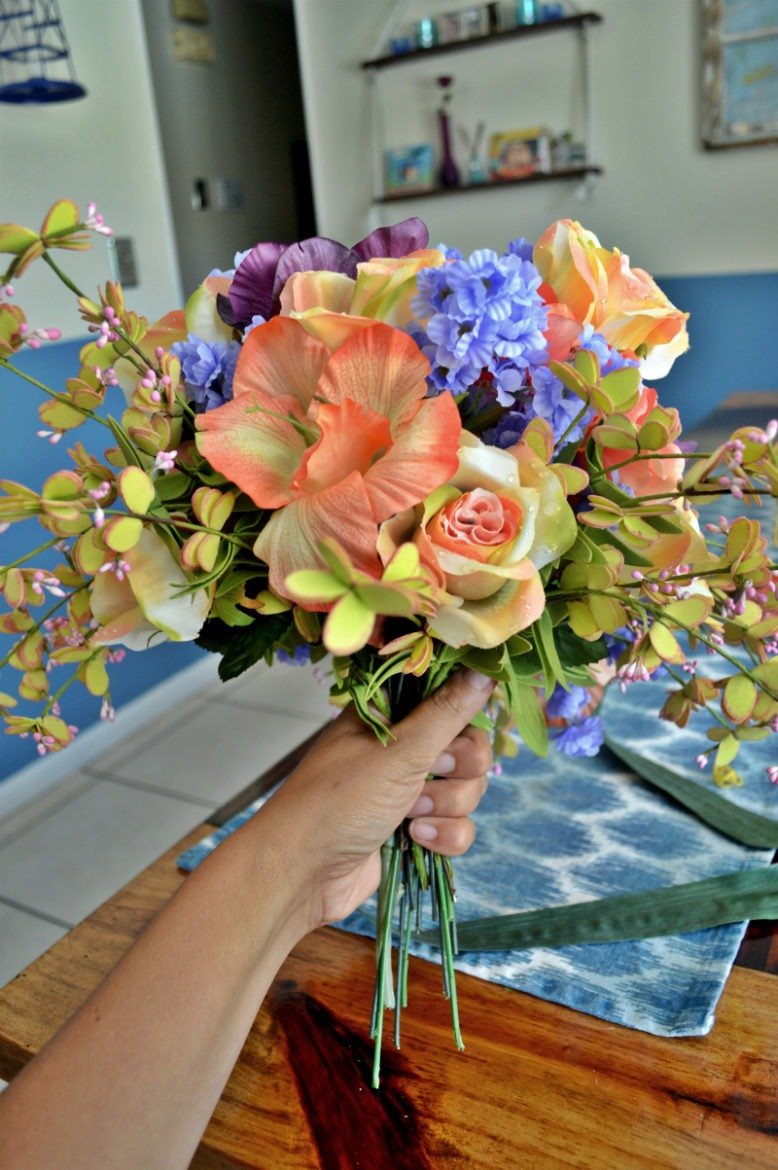
It’s very simple to create your own wedding bouquet. You could spend thousands of dollars on a real one from a flower shop, and never exactly get what you want in the first place.
You could pay a fraction of the price for a DIY bouquet, and in the end have it to remember forever. The endless possibilities to its design is another benefit to a DIY wedding bouquet, where you don’t even have to use flowers.
There are many different designs out there, but I will show you how you can create a simple flower wedding bouquet with some theme embellishments.
DIY Artificial Wedding Bouquet
Under $100
Supplies You Will Need:
Silk/Artificial Flowers
Scissors
Rubber Bands
Wire Cutters
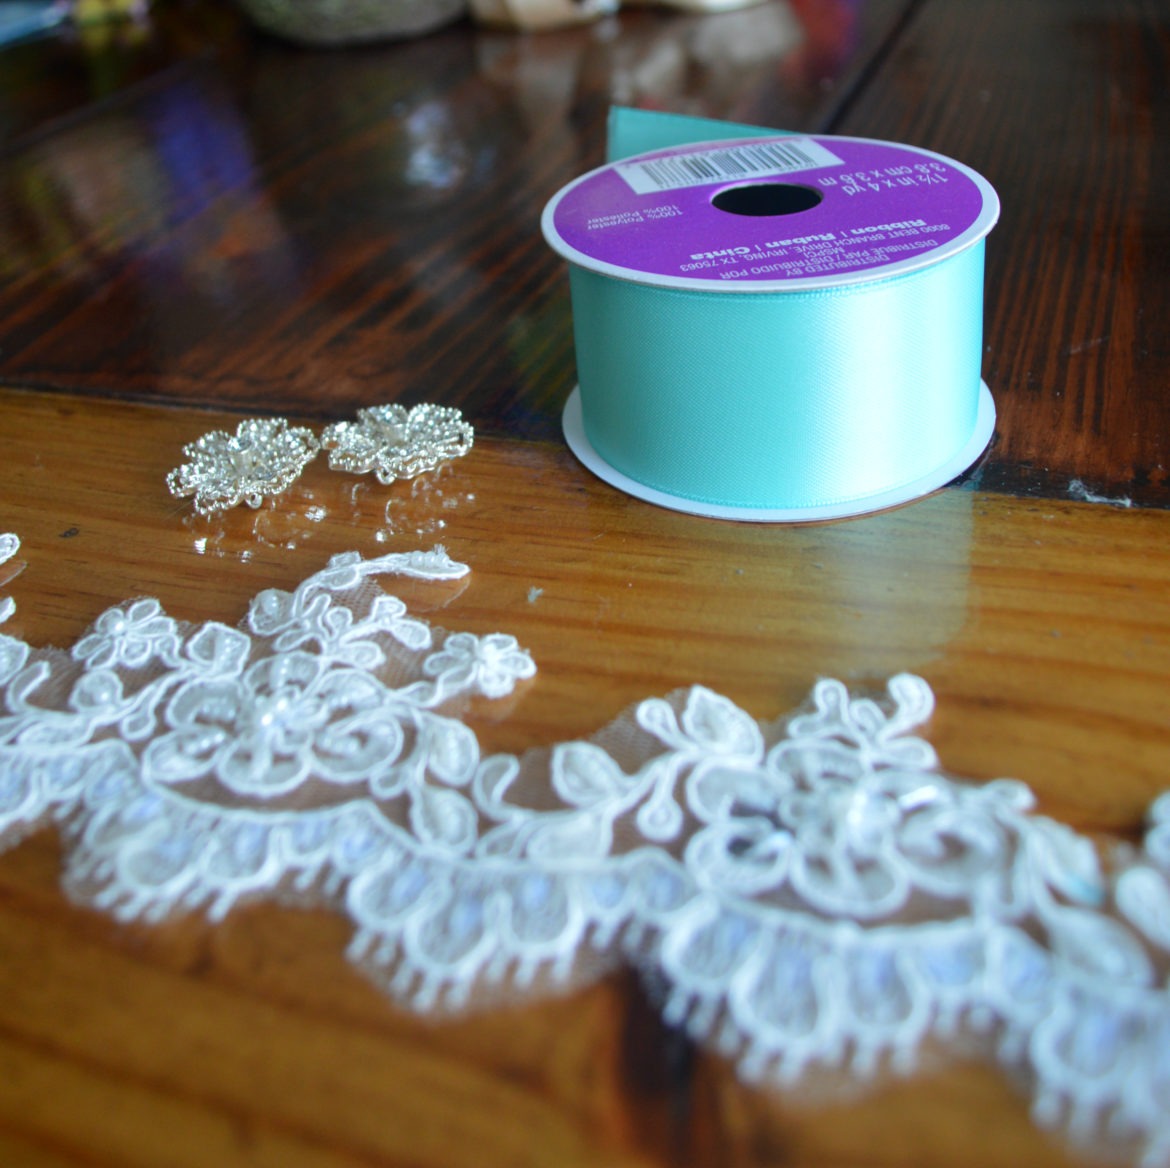
1/2-1 inch width ribbon
Gorilla Super Glue
(Optional) 1/2-1 inch width lace ribbon/edging
Connect with me on Twitter, Instagram & Facebook so you don’t miss the latest blog updates!
Directions:
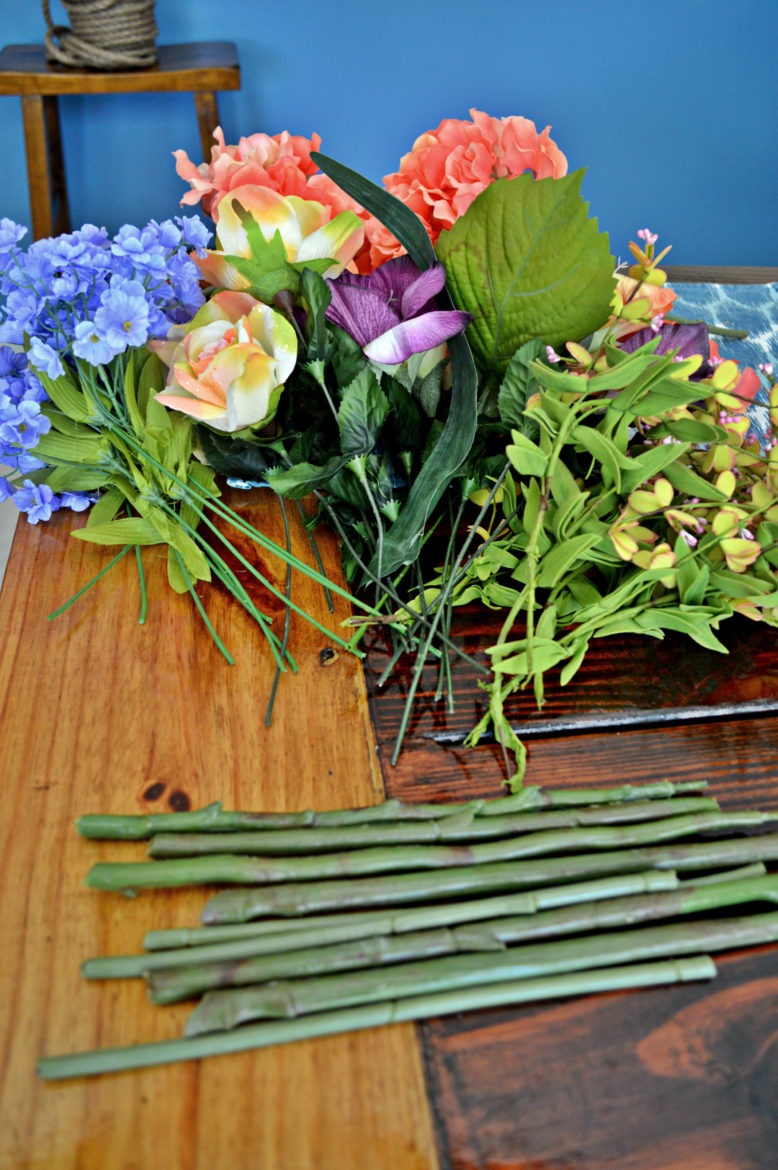
1. Cut your flower stems at equal lengths, leaving about 2-3 inches of the stem intact to the flower
Depending on the length of your stems, and how long of stems you want, cut them so they are all equal lengths. I stripped my flower stems almost entirely, leaving only the wire visible.
The flowers I used had stems nearly over a foot in length, so I cut each of them in half so that I double the number of stems I had (leaving me with 10 stems instead of 5). I wanted the look of a thicker stem base, while if i just left them as is the base would be super long and skinny.
Depending on the length of your flower stems, you might not have to even cut them like I did. But if you want a thicker stem base, you might have to cut them.
Notice from the image below
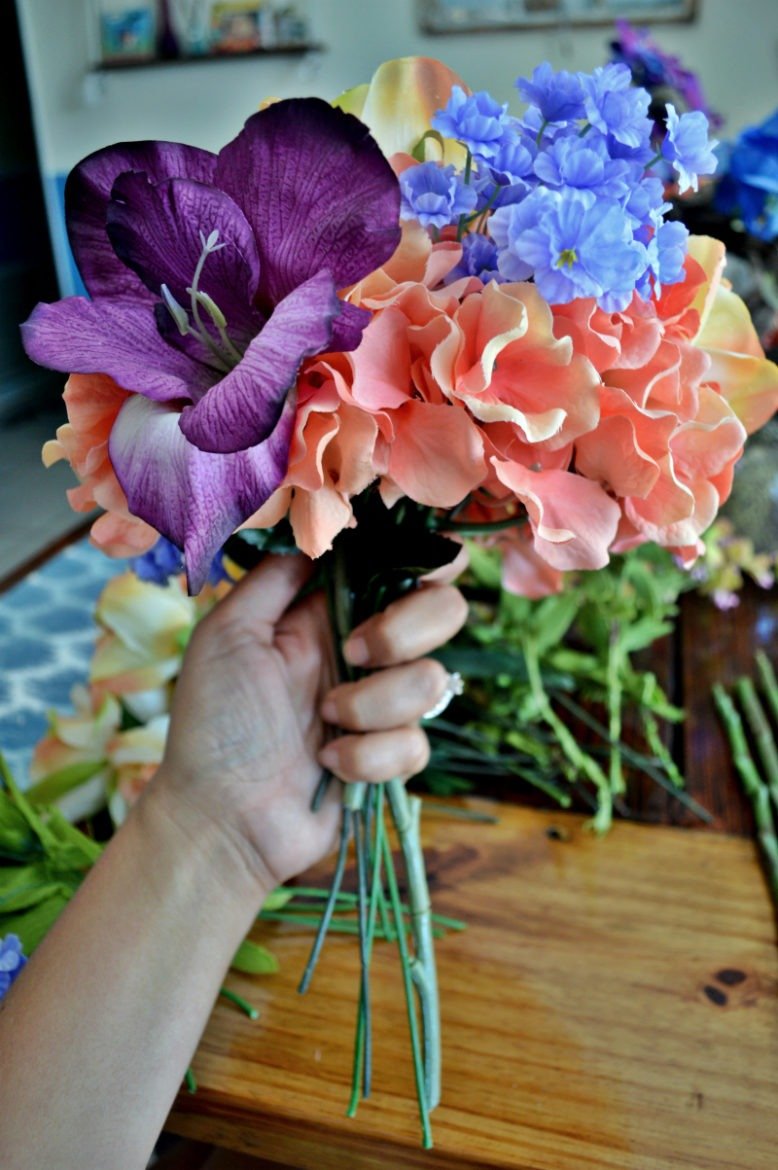
2. Begin with your largest assortment(s) of flowers, then adding on single flower stems to create your desired look.
This part is all up to you and how you want your bouquet to look. Don’t be afraid to move the flowers around as you hold tightly onto the stems. Bend the flowers, spread out your larger assortments so they blend with others.
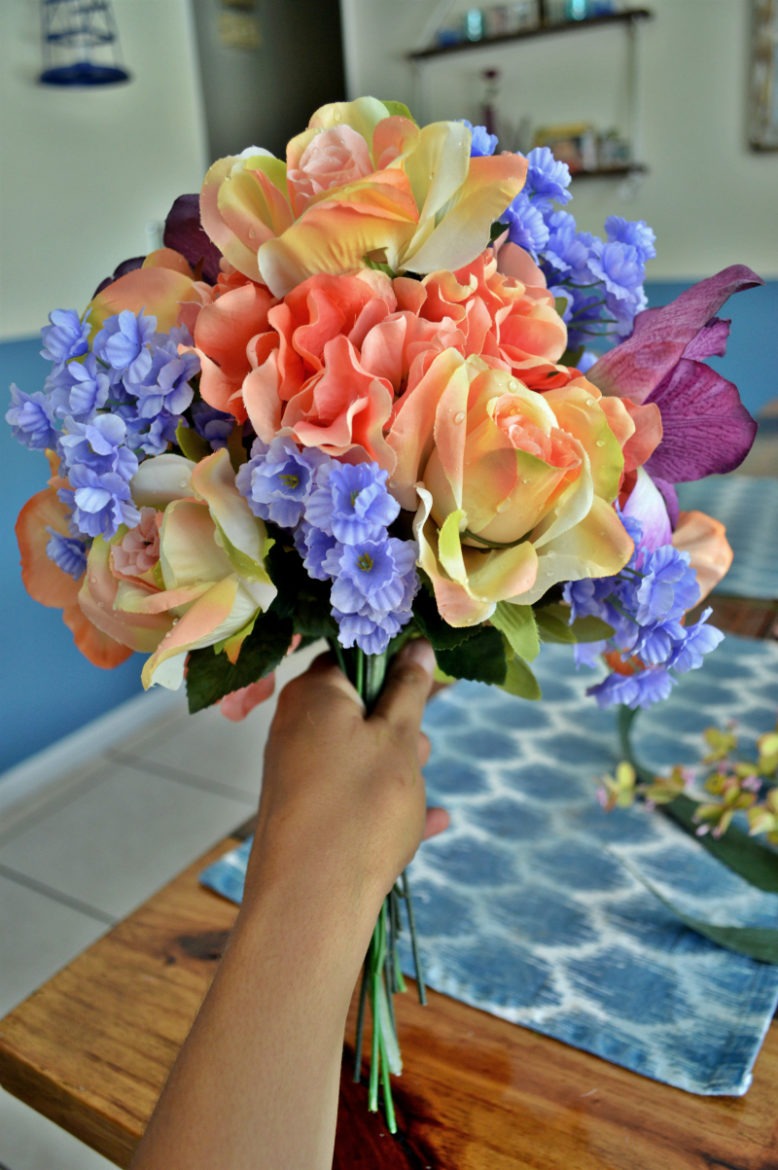
You’ll noticed in the image below I started with my Hydrangeas, then began by adding in the single stem Roses, Lilies and periwinkle baby’s breath.
Very last, I threw in some extra touches of movement around the outside of the bouquet.
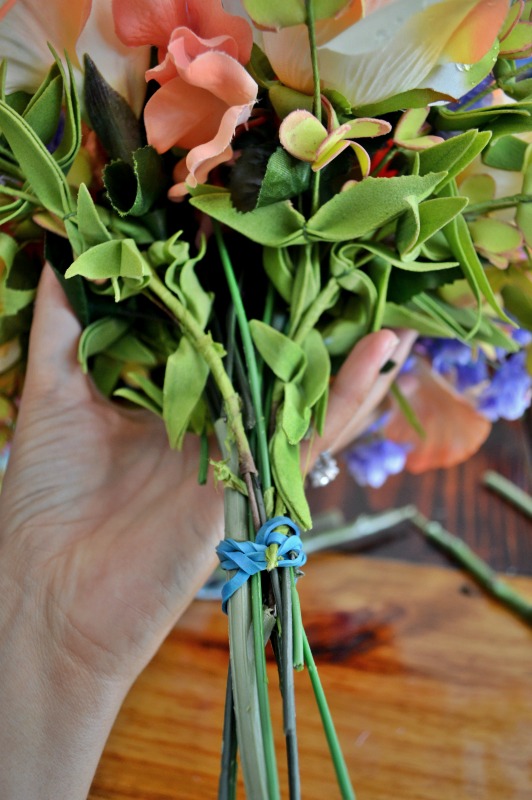
Once you have settled on your arrangement, tie the base with a rubber band, as you see in the image below. This sounds tacky, but don’t worry it will be covered up later.
3. Use your cut stems as the added base to your arrangement
If you didn’t cut them, that’s A-Okay. Just make sure all of your stems at the bottom are an equal length.
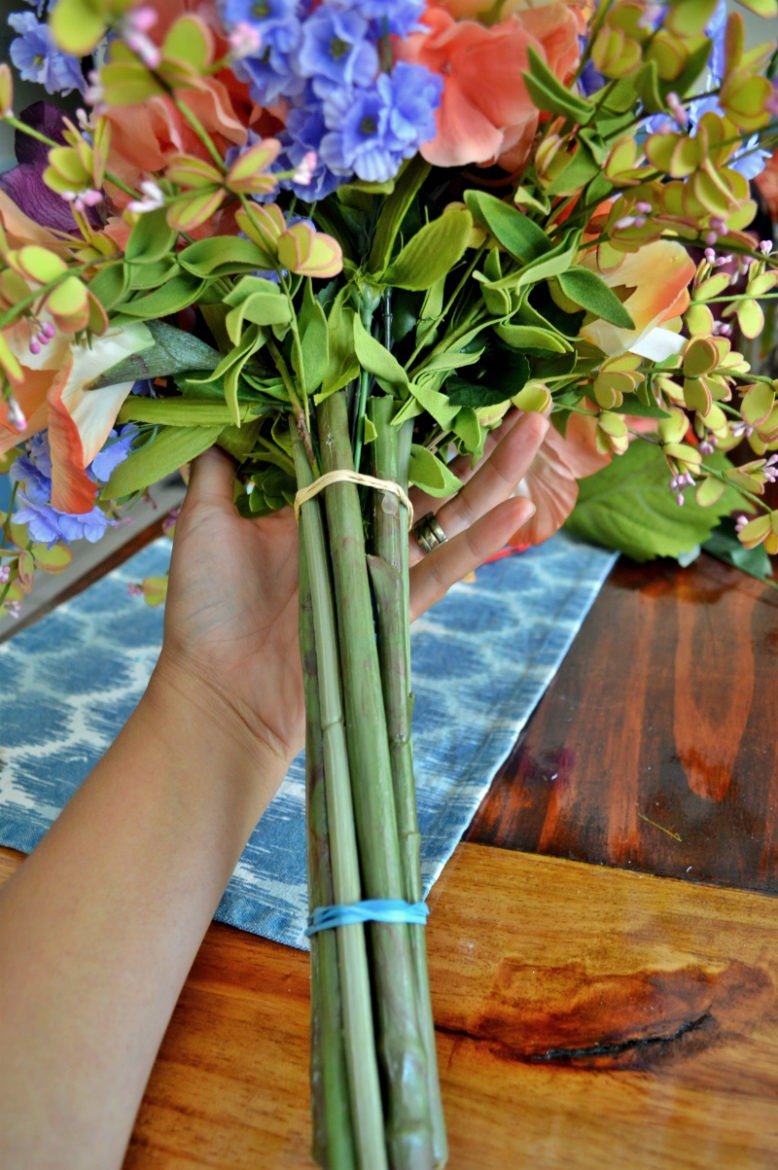
If you did cut your stems, refer to the image below to get the idea of how I arranged them around the bouquet.
You are going to use another rubber band to secure the top portion of the stems. Arrange them so they cover the thin wire stems. You will use ribbon to cover what is still showing, so don’t be alarmed if you see the wires showing through.
4. Cut about 3 feet of ribbon for wrapping around the stem base
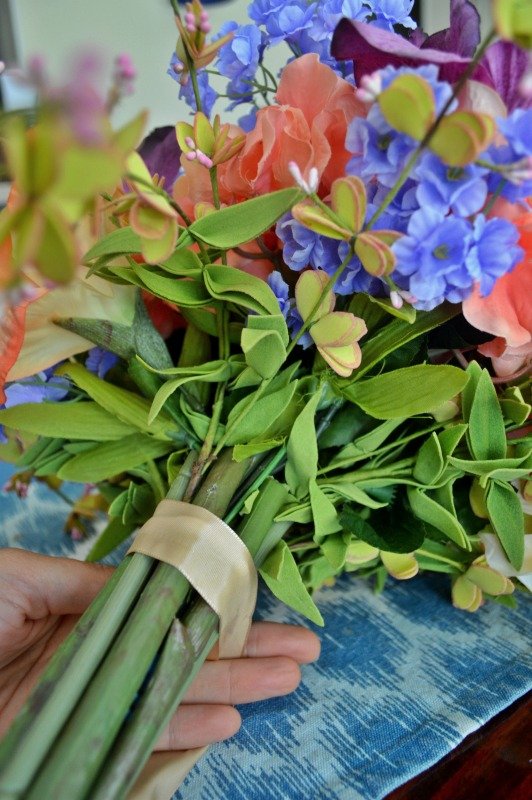
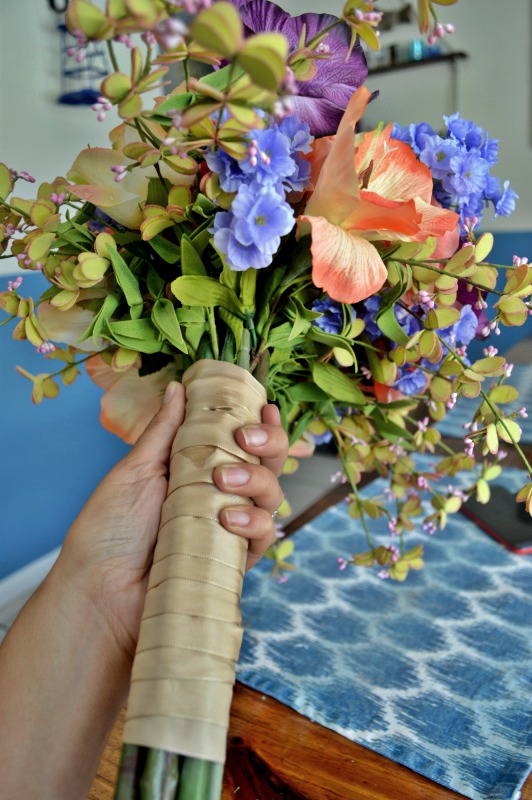
Whichever ribbon you choose, this is going to cover up those rubber bands. Start at the top with your ribbon and simply wrap it around while keeping the ribbon tight as it goes around.
Make sure you leave a good inch of exposed stem at the bottom. If you realize you have too much ribbon, you can always wrap it again going back up for extra support. Use Gorilla Super Glue to secure the end piece.
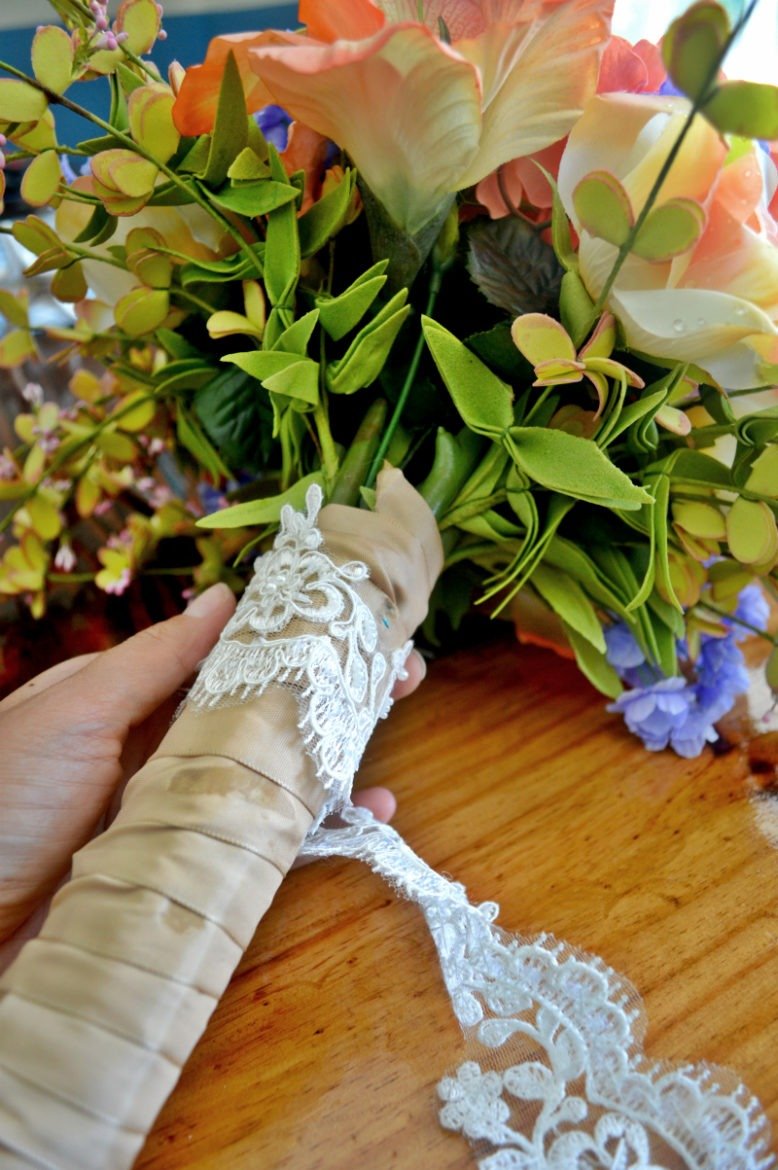
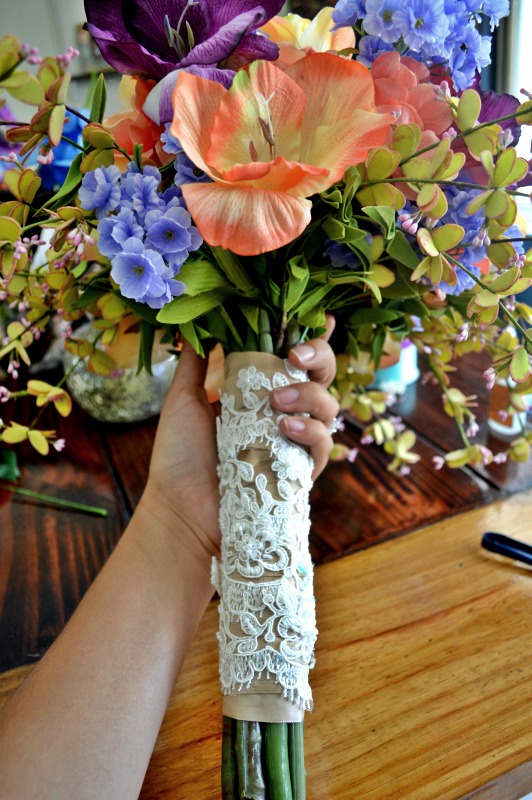
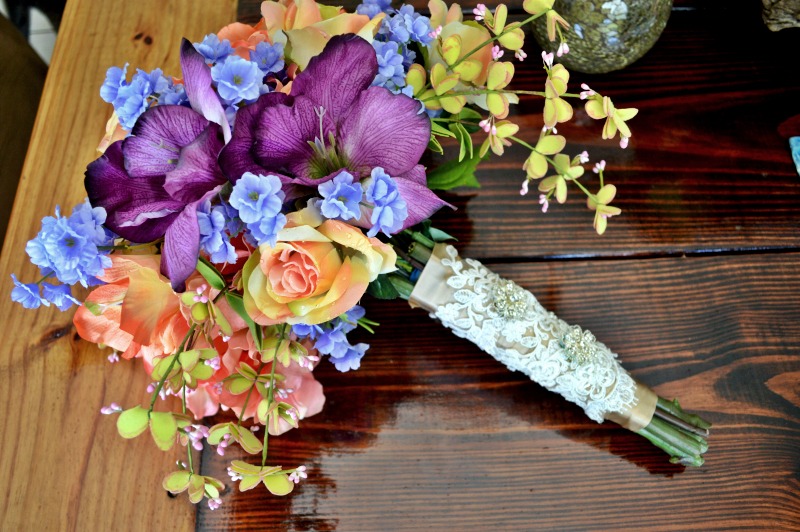
5. Wrap your lace edging/ribbon over top of the solid ribbon (optional)
This just ads to effect. You don’t have to use a lace edging over the ribbon, but my dress was completely lace, and it was extra edging I had leftover from making my veil, so I thought it added a nice touch.
You will follow the same rules as #4 for the lace edging.
6. Add embellishments according to your wedding theme (Optional)
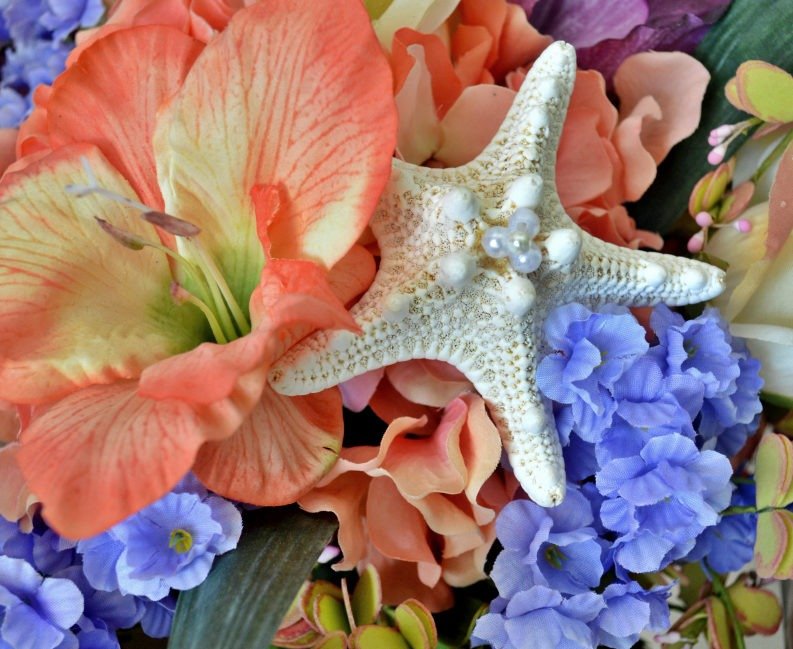
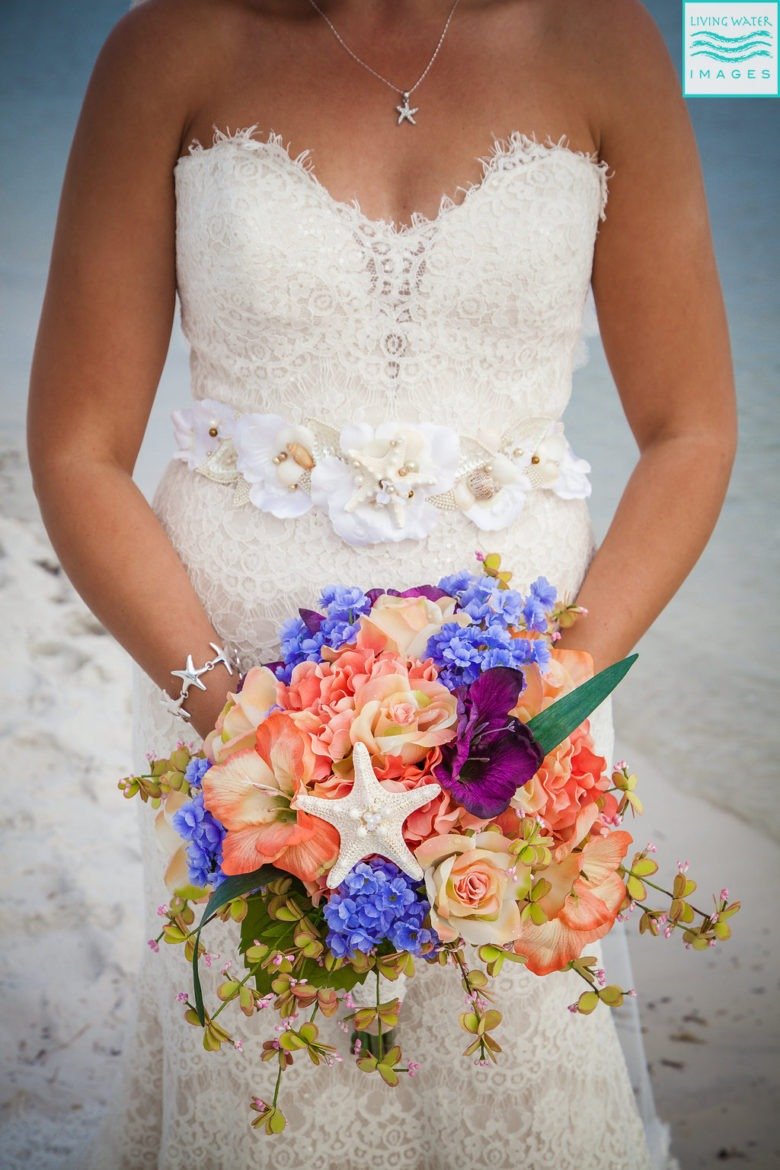
This is also optional. But I was having a beach wedding and my theme was very tropical, so of course I had to go with adding in the starfish. But I also implemented a little glitz by sewing in two flower pendants to the stem base.
And there you have it! And even today my bouquet is nestled in with the decor of my house – I can look at it and be reminded each day of that memory.
And so can you! Share this amazing project that can save you money towards your wedding budget, or just for simply a reason to DIY a part of your special day.
[mailerlite_form form_id=8]
