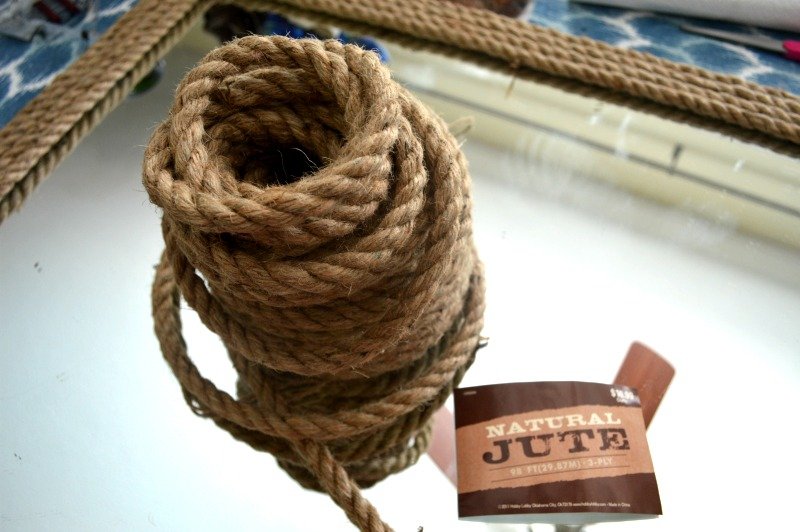
I spent under $35 to make this DIY nautical rope mirror decor for one of my bathrooms. And besides already having the mirror to do this – the project was super easy. Finding the twine rope was difficult, mainly because I was picky – I wanted a thick, distressed and natural looking twine (not some poly-blend type rope, which is all I was finding).
I was going for the rustic nautical look, essentially. I eventually did fine really natural twine rope for the price (giving me more than enough in length for other crafts in the future).
DIY nautical rope mirror [for under $35!]

This post contains affiliate links. All products and links listed on TML are affiliates through 3rd parties such as Awin, Etsy and Amazon. Meaning, at no cost to you, by clicking and purchasing through those links I will earn a small commission. As an Amazon Associate, I earn from qualifying purchases. To learn more read TML Terms and Disclosure.
All you need is:
- 50 feet of Twine OR 100 feet of Twine (depending on how many times you want to wrap your mirror) that is 1/2 inch thick (this product has many different thicknesses of rope – 1/4, 3/8, 1/2 and 1 inch thickness – so beware when choosing the one to buy).
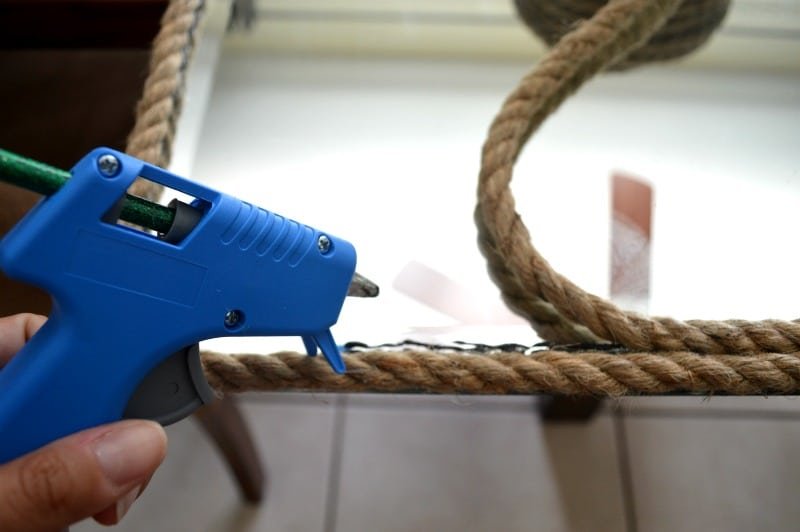
- Hot glue gun (you will definitely want to use this over other glue, because you need something that’s going to dry FAST, and harden in order to hold onto this thick twine). Do NOT use super glue – tried that – it soaks into the twine and you’ll end up in a bigger, stickier mess!
OR, use liquid nails if your bathroom is prone to getting steamy (and therefore your mirror wet) from the shower. I ran into issues over time where I had to reglue the rope in spots. - CLEAR glue sticks if you’re opting for the glue gun (you’ll definitely be using a handful of these for this project).
Directions:
First of all, I made the mistake in assuming I had the clear glue sticks (which I did not), so in my pictures you see green sparkly glue! I had to work extra hard to make sure the glue was not visible on the mirror or between the twine. Ignore that, and get yourself the CLEAR sticks.

I went with the 1/2 inch thick 50 feet of twine for my 4 x 3 foot mirror. I measured first how many feet of twine I would need to wrap my mirror 4 times (since that’s the look I wanted). So be sure to measure your mirror and determine how many times you want the mirror wrapped with the twine, because you might need 100 feet of twine instead. It’s a little more expensive, but not by much.

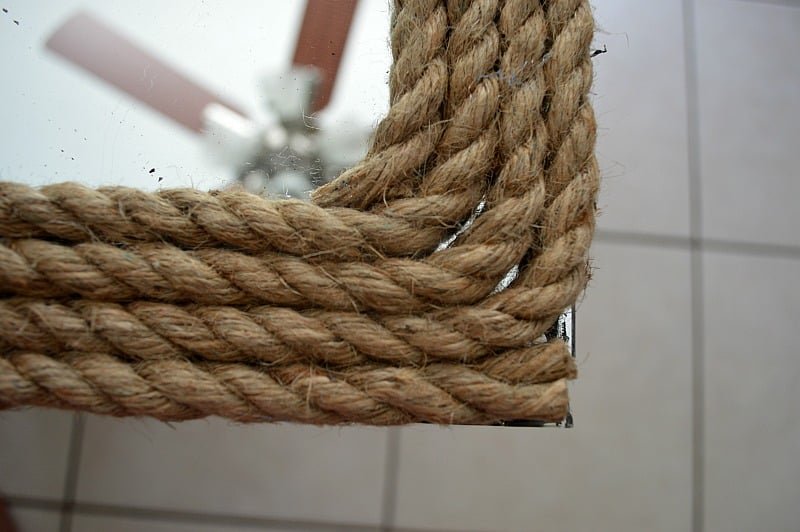
As shown above, start at one corner. The first loop around the mirror I had to cut at all the corners of the mirror (the twine just wasn’t bending properly to cover the corners on the first loop). But if your mirror is round or has rounded corners then you’ll be fine to just do a continuous loop.
Then, as you see above in starting the 2nd round of twine, I was able to begin rounding at the corners instead of cutting at the corners. Also notice (in the picture above) that I cut and stopped the twine at the same corner I started.
And that’s really all to it! A very simple nautical decor from a plain mirror. You can even dress it up further by adding a stylish anchor piece or even shells to the rope!

**2025 UPDATE**
I wanted to share a few updated pictures of the mirror and how it has held up since I originally posted this DIY tutortial back in 2016! NINE YEARS, and the mirror is still holding up! I did have to reglue a couple places over the course of that time, but nothing major.
That being said, I should point out, that this bathroom sees minimal use of the shower, therefore if you used hot glue for this project in a bathroom that gets steamy and humid daily…you may run into issues where the hot glue no longer holds to the mirror over time! I did another hot glue project for the mirror in my other bathroom here, and over time the pieces started falling off because the mirror often gets wet and steamy from shower use.
If this is happening to you, you might want to consider another glue option such as liquid nails.

