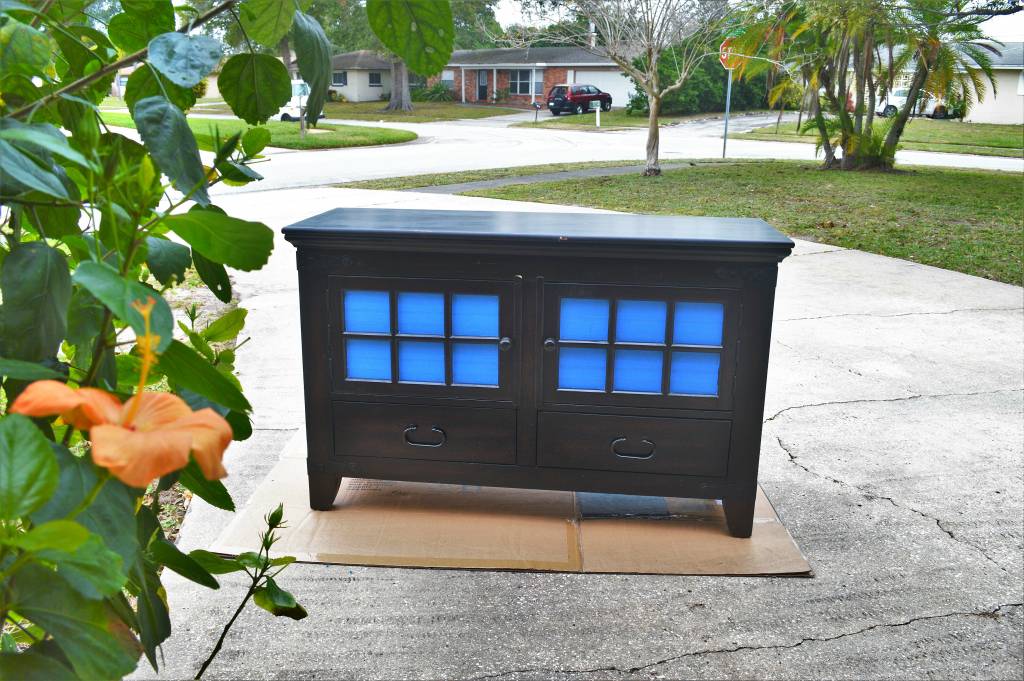
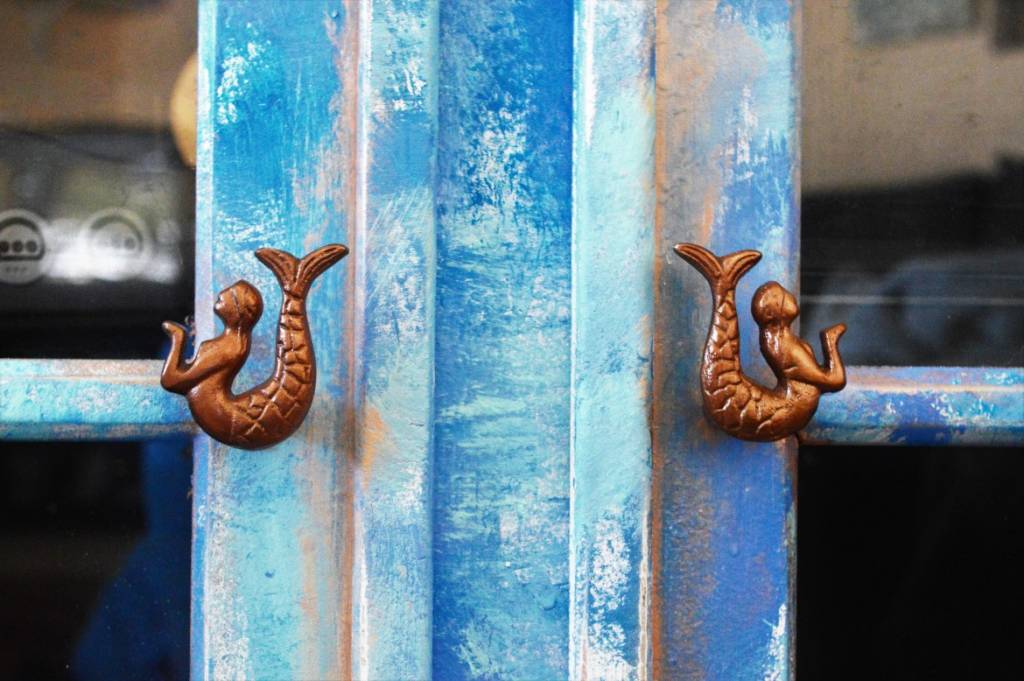
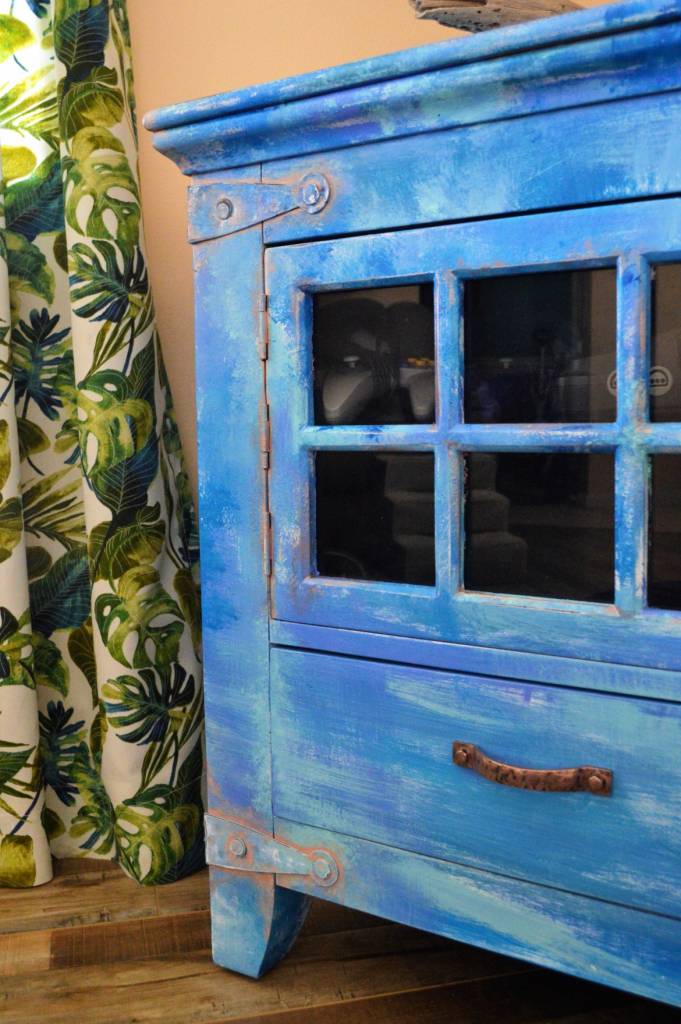
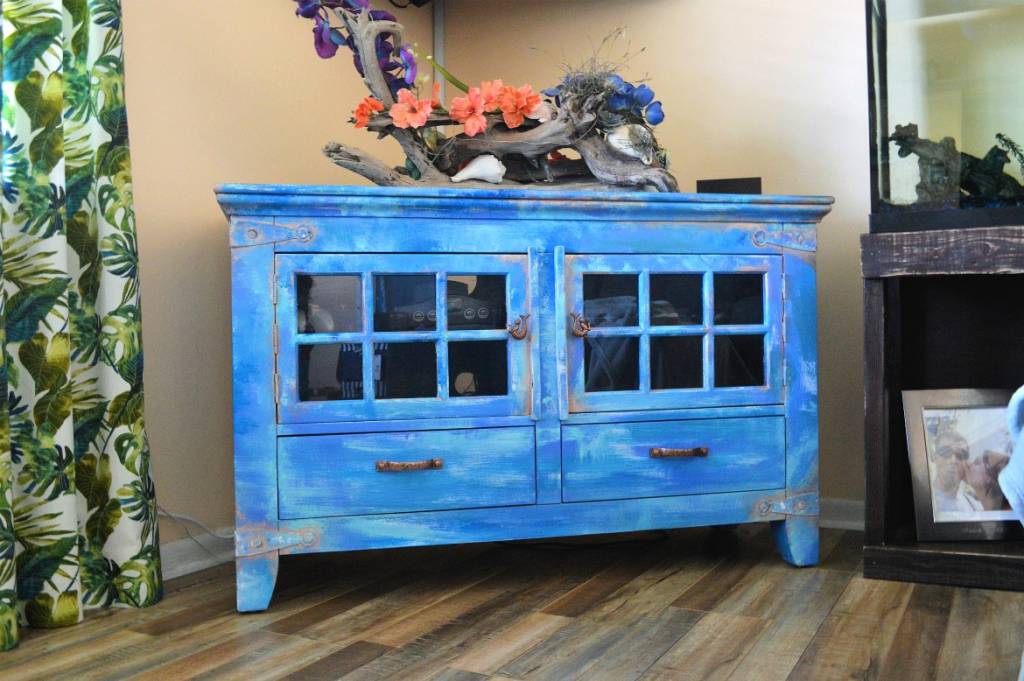
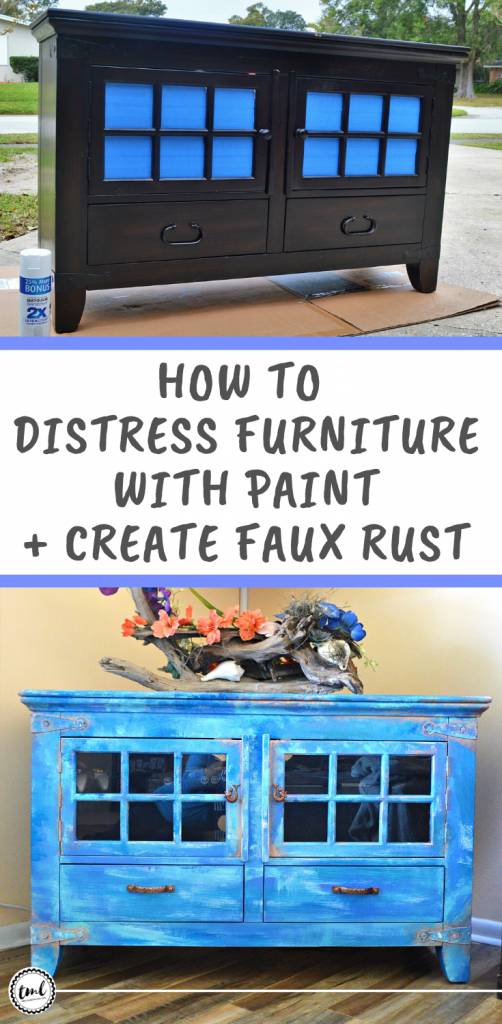
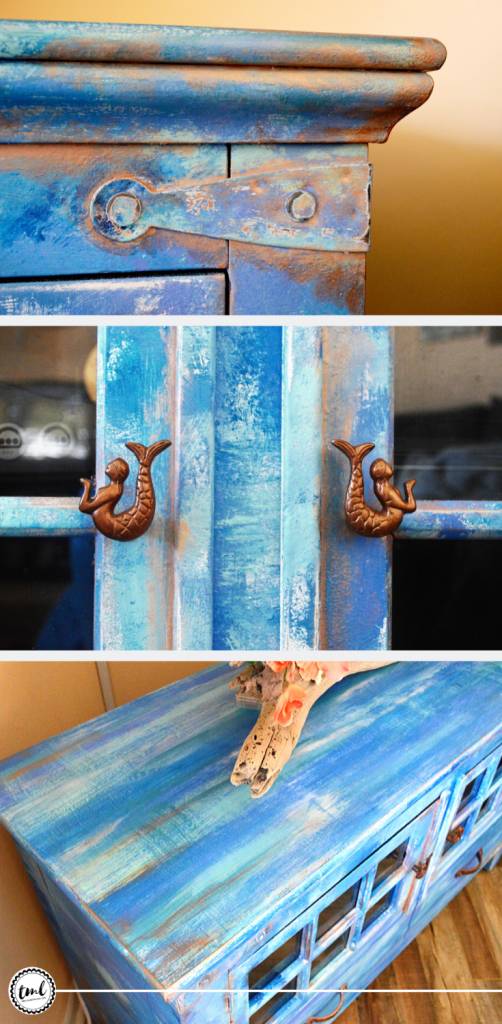
The funniest part about this project – I painted it, but I hated the end result.
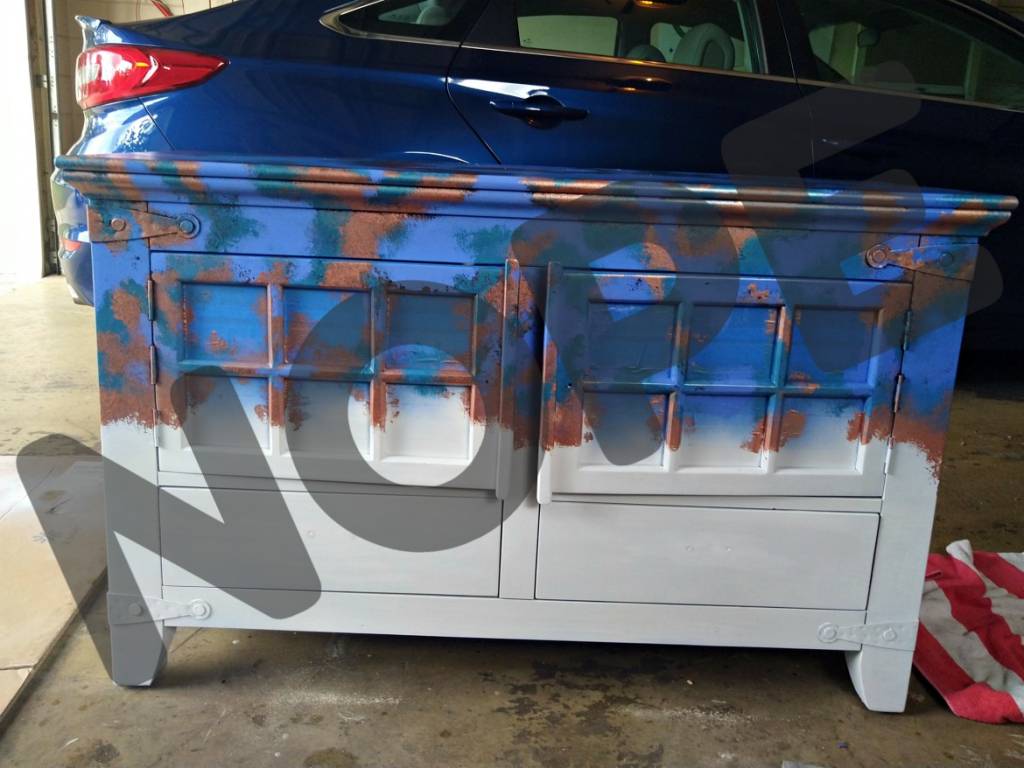
Seriously, ew – all I can see is animal print. It was far from what I was really hoping to achieve for my tropical bohemian-style living room.
So I started over.
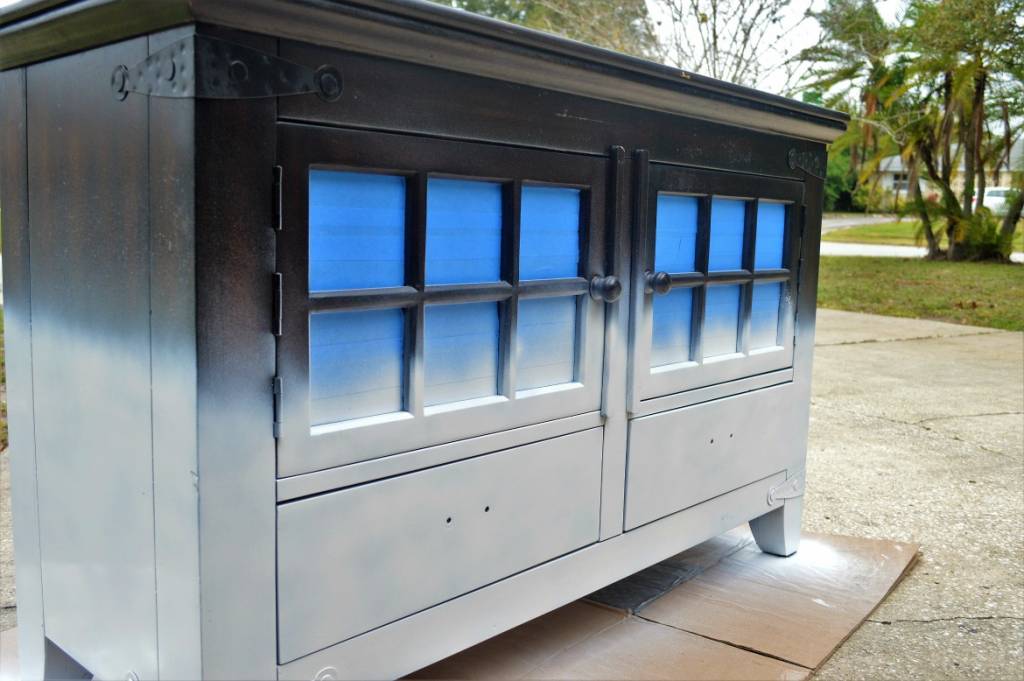
I went back and spray painted this piece all white and started fresh. I think I had this grand idea in mind, but it didn’t exactly look how I first envisioned. My gut was telling me this wasn’t what I truly wanted, and it was right.
Story of an artist’s life – our work is never truly finished. And a big problem I have with the whole blogging thing is leaving out the middle steps – yeahhh, I totally forgot to take pictures during the process. I tend to get a bit lost in the moment, especially when it comes to doing things I love.
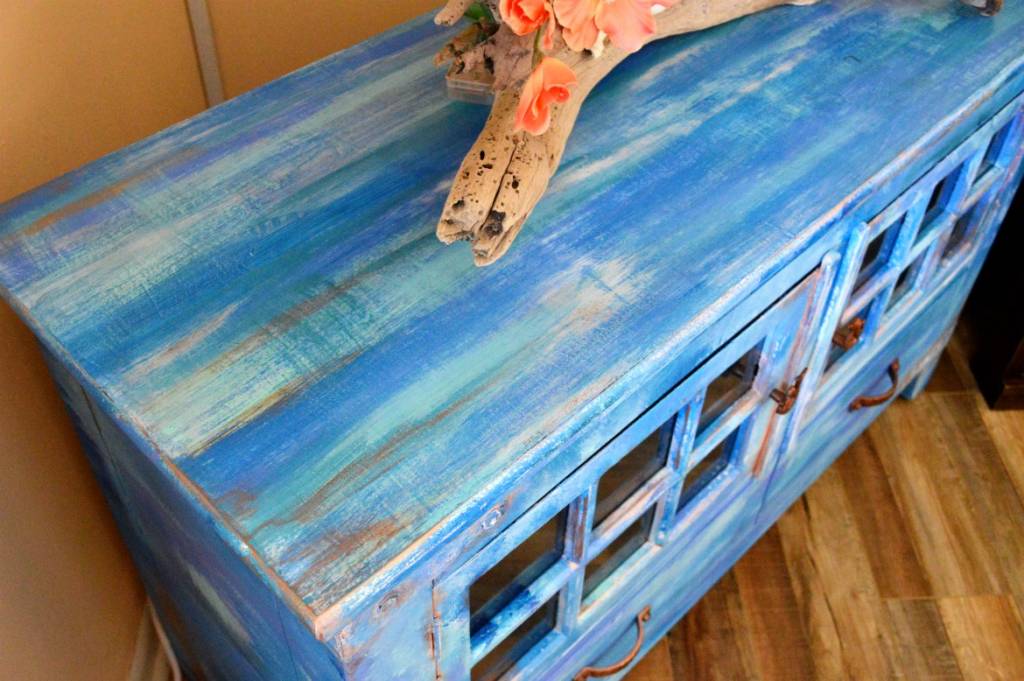
BUT, there is a nice before and after of this piece, AND there’s a video tutorial that replicates this process on a second furniture piece!
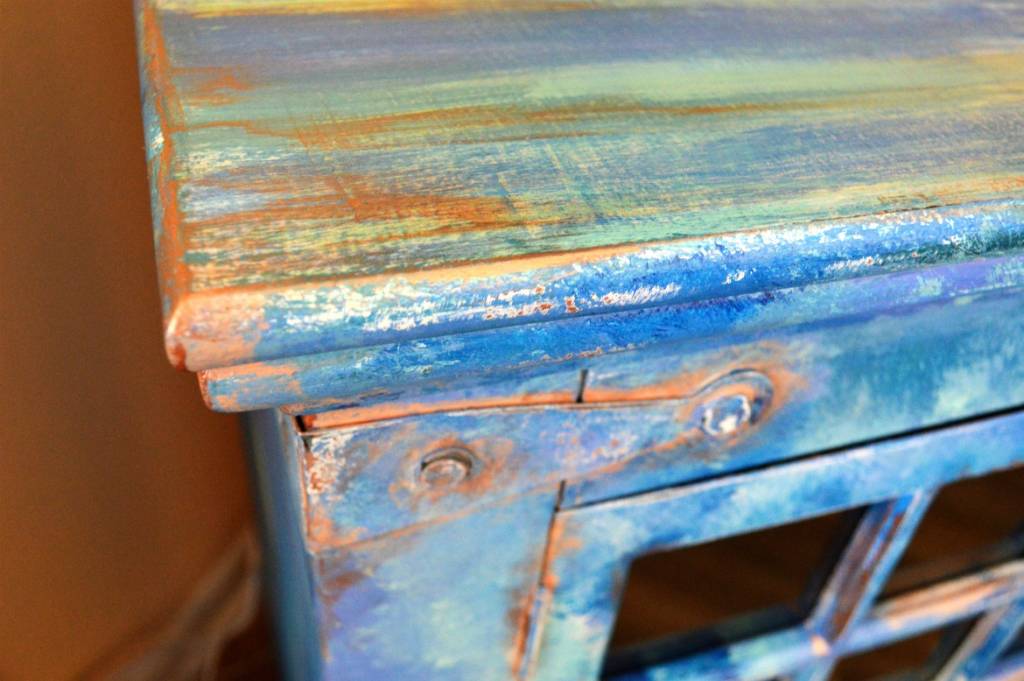
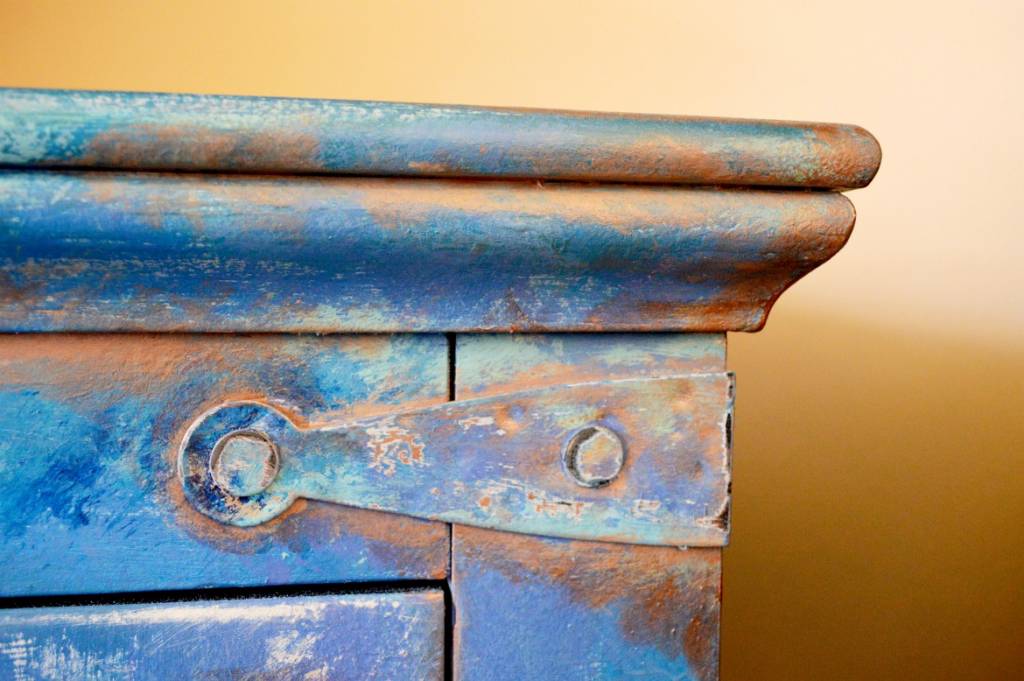
In the meantime, I managed to get some video snippets of how I created the faux copper rust look (which you can check out on Pinterest here, and here). I will also give you the gist of what paints and tools I used to create this distressed look.
It’s really simple, using minimal techniques without having to use a thousand fancy brushes.
For more detail on how I created a dry brushed distressed look on wood furniture, check out the video tutorial! (subscribe to my channel to stay up-to-date).
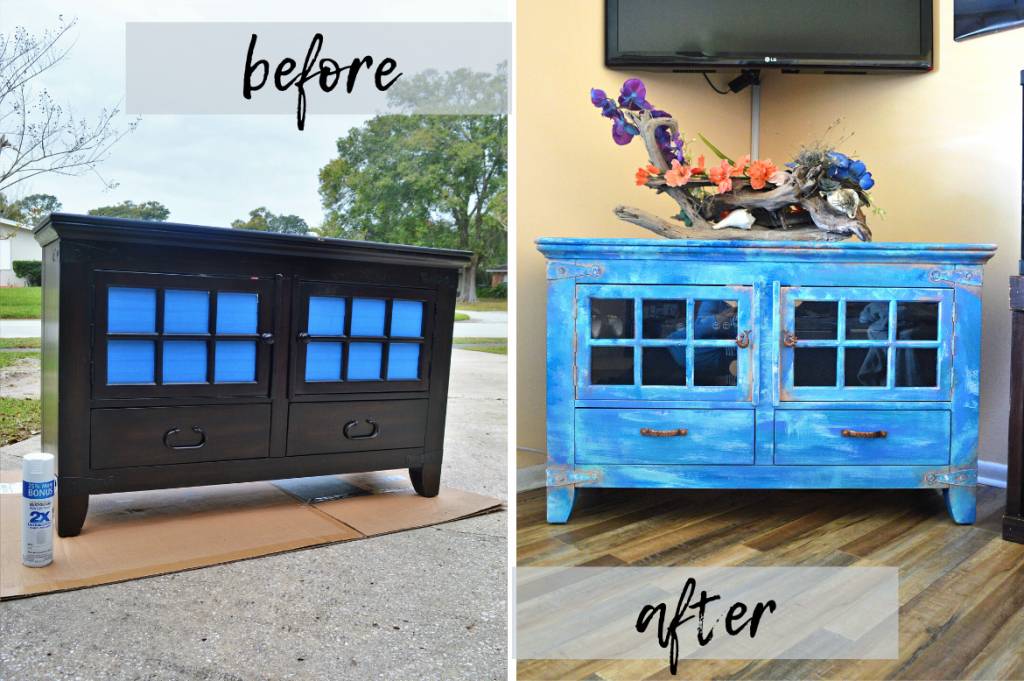
How to distress wood furniture with faux copper patina
tools you’ll need:
- Painters tape (if there are areas you want to avoid painting)
- Flat white spray paint (2 cans)
- White chalk paint, or regular flat white paint (mainly used to create added “texture” when applied thick and distressed when sanded).
- Your choice and number of colors (I used 4 main colors and had 2 accent colors for the faux copper patina look), plus the white paint listed above if needed.
For this project, I could have easily done with all “sample size” colors (I used in some of the paint colors I chose), but if you can’t get them then quarts are more than enough for a ~ 24x70x36 sized piece of furniture.
Unless you screw up the first round, like “muah”.
Colors I specifically used:
Base – Valspar Chalky Finish (White), Rustoleum Spray Paint (Flat White);
Main – Behr Semi-gloss (Integrity), Ralph Lauren Metallic (Highgate), Academy Acrylic (Process Cyan), Glidden (color name unknown, but it resembled a light Mint);
Accent – Glidden (Watermelon Punch), DecoArt Metallics (Rose Gold);
Finish – Polyurethane (Clear satin). - 2-3 medium-sized acrylic brushes, 1 large acrylic brush, 1 tiny accent brush (1/2 inch soft bristle width) – in the video tutorial I show you how this entire process is done with using only ONE paint brush and small one detail brush.
- Sandpaper block (multi-grit sides)
- Paint thinner, or turpentine (Optional – I use to clean/save my brushes and it helps blend colors better if I needed)
- 1 Rag (you will use and likely throw away)
- A few paper plates (for blending/removing excess colors)
check out the video tutorial on how to paint a distressed faux rust look on wood!
[mailerlite_form form_id=23]