
Let’s talk painting wood cabinets!
It can be as low as some odd $15,000 to completely renovate and update a kitchen, including new appliances to match. I know I don’t have that, nor is it really that my kitchen needs a complete reno to begin with. But my old, old wood cabinets needed work.
I just felt they needed a nice face lift – a dab of paint, some new hardware and maybe updating functionality – like sliders. Doing that yourself is an extensive job, and not cheap. But in comparison, it wouldn’t cost you as much of an arm and a leg to paint wood cabinets rather than gutting everything from scratch.
Before
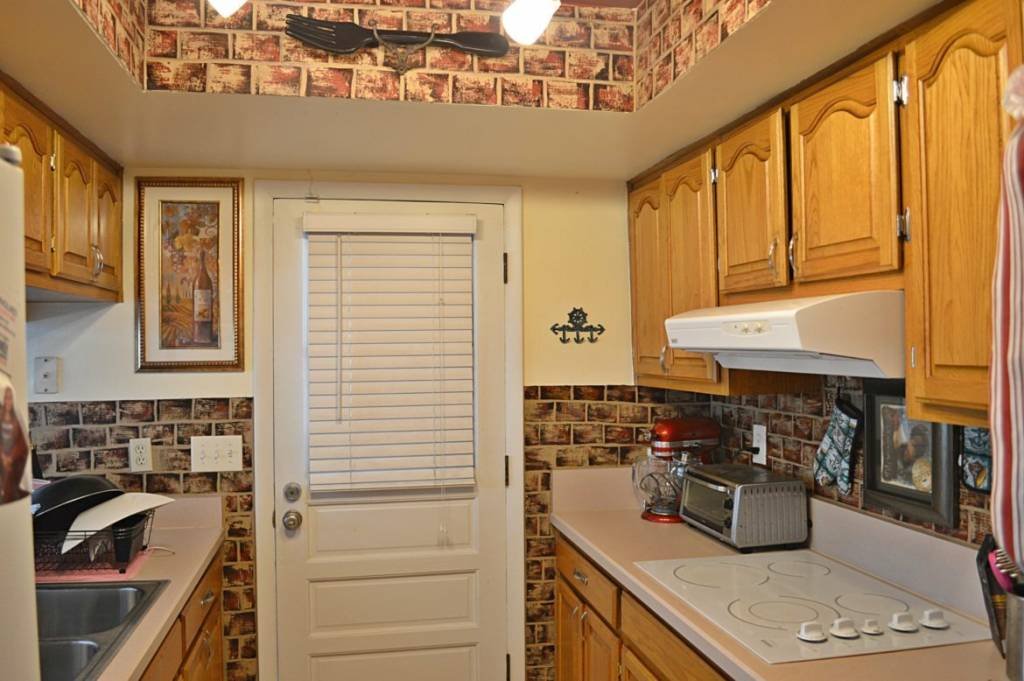
They’re not in bad shape! Yes, outdated, but fortunately they are solid wood and not laminate. For a 60s home, and a kitchen that was remodeled in the early 2000s – it could have been much, much worse.
The only downfall is that the trim around the cabinets are MICA – which is basically a textured sticker trim to make it look like wood. That was going to be my challenge through this. Plus, knowing the fact I was about to paint those wood and mica kitchen cabinets white.
But it can be done, as long as its done right the first time. There are multiple steps, and multiple weeks of patience. None of those steps can be skipped, either, which is where most come to find their results are less than sub par.
There are also the right tools and products to use – where many would just simply tell you to grab paint and a $.99 paint brush and go to town. Absolutely hell to the no.
There’s a lot of work involved, and after doing this – it’s safe to say I will not be doing this again mainly because of the work it entails – no matter how much money we saved doing it ourselves. I now know why people pay the $15,000+ to have someone redo everything for them. But I do like DIY, I wanted this done, and I was up for the challenge – I just knew this was one project I did not want to have to do all over again. And I’m not going to tell you not to do this (because you can do it, no doubt), but once you’re finished you’ll realize what I mean, trust me.
It’s actually not the painting part at all that’s difficult – it’s taking down the cabinets, removing the hardware, wiping down everything, sanding everything, filling the old holes with wood filler, priming everything (not once, but twice, depending on the color you’re doing), painting everything (not once, but two to three coats if you’re lucky), waiting more than 24 hours for everything to be guaranteed dry, remembering which cabinets go where, applying the hardware again, then the cabinets themselves, and paint touch ups last but not least.
That was a mouthful – am I right?
But, really, don’t let that discourage you. All in all – it was quite easy to do! So I’m going to show you my experience, the steps that it took and the proper tools and products to paint my wood and mica kitchen cabinets.
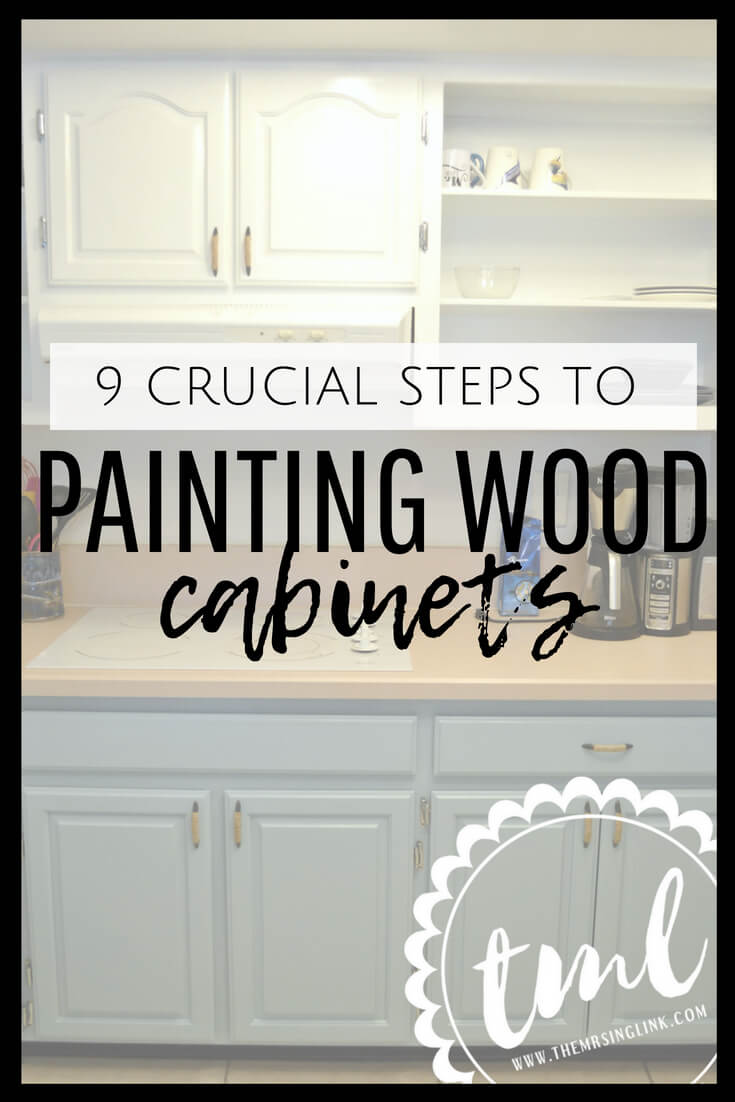
9 Crucial Steps To Painting Wood Cabinets
*NOTE: This tutorial is ONLY for refacing WOOD cabinet doors – not laminate or mica doors!
Materials You Need: *you may need multiple quantities
- Gallon of Kilz Primer
- Choice of cabinet paint (TIP: for kitchen cabinets, go with a high gloss based paint with primer, even if you’re using a separate primer)
- Elmer’s Color Change Wood Filler (you may not need this unless you are adding new hardware)
- Krud Kutter Degreasing spray
- 4 inch paint roller*
- 4 inch foam roller applicators* (get the pack – you’ll be using more than one)
- 1 inch foam brushes* (get the pack – you’ll be using more than one)
- paint drop cloth
- RYOBI Electric Sander (Trust me, use this route rather than by hand – gets the job done 100x faster)
- 120 Grit Mouse Sandpaper Replacements (you’re going to be using multiple of these – 120 grit ONLY – anything lower is too rough on wood surfaces!)
- Protective Polyurethane Finish (stain blocker!)
Directions: STEP BY STEP
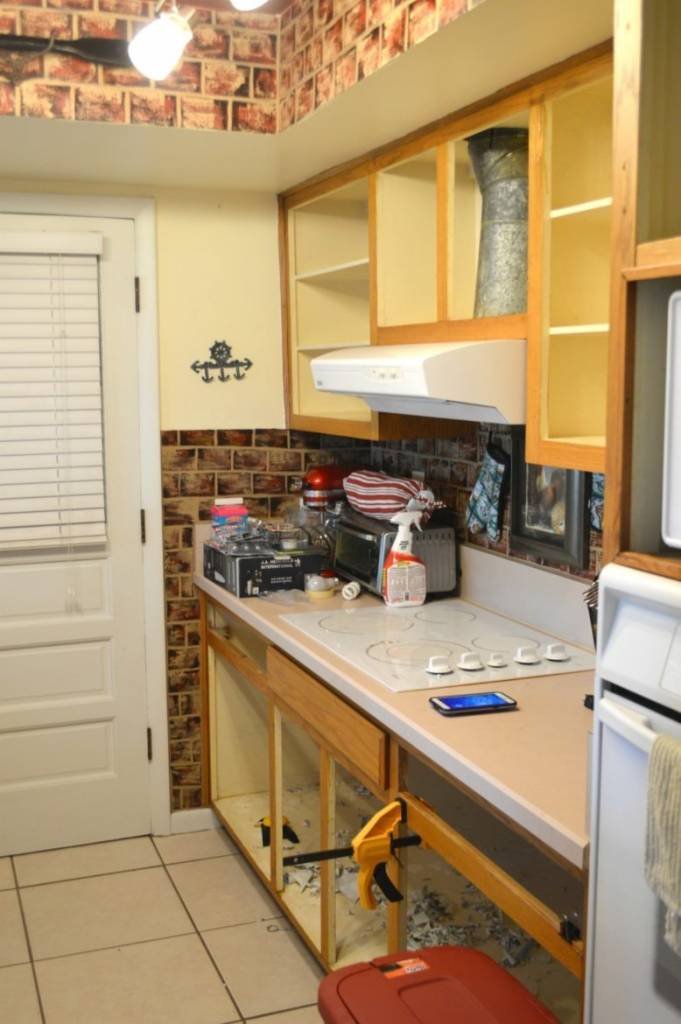
Remove ALL cabinet hardware and doors
Don’t try to skip this part! Yes, it’s the worst part, knowing you’re going to have to put them all back on and up in the end. But trust me, it’s worth the extra step to make sure this gets done properly. You don’t want to have to do it all over again.
TIP #1: on a piece of paper, map out your cabinet doors as to where specific ones go. I have different length and style doors, so I mapped out which areas required the taller, square or curved. You don’t realize how many doors you have until you have them all down. So make sure you make it easy for yourself when figuring out which doors go where!
Wipe down ALL hardware, cabinet doors, shelving and trim thoroughly
I used the Krud Kutter – it cuts through the thickest, stuck on grease (from all of the cooking over the years), grime splatters, spills, stickiness, drips – you name it. It honestly made my oak doors look like a completely different color by the end of it.
This step is essential – otherwise you may notice your paint doesn’t stick, and can bubble over time. Plus, it’s honestly half the smell that lingers in your kitchen over time! Just make sure you wipe off the cleaner very well, and allow the doors to dry completely before moving on.
(Optional) Fill holes and dings with wood filler
I did this, well, because the home owners before us had put hardware on crooked and the cabinet doors were installed unevenly. Which made our process even more difficult since we were now looking at having to measure and basically re-install these cabinet doors to the trim from scratch.
The wood filler is also for any cracks, dings, gaps or edges that need filling as well! Not just for drill holes – is your mind blown, yet?
But if you are going to use the original placement of your hardware and doors, then you can skip this step. Or, if you are wanting new hardware installed, you will need to fill the holes – even if it is just to install new drawer pulls and cabinet knobs. Just get a tiny tube of wood filler for this job. There are so many to choose from, but I like reassurance so I always use the kind that changes color when it’s dry – like this one by Elmer’s. It’s best to use a putty spatula for this, or simply a firm piece of cardboard will do when removing the excess filler. But the goal is to have a somewhat smooth surface to sand over.
Sand down the doors (Electric is a MUST)
You may read out in the grapevine that you do not always need to sand. While this may be true, but you have to realize that in order for paint to hold – surfaces usually need to be ‘roughed’. And since in a kitchen you open, close and lean against cabinet doors – you want a paint that isn’t going to smudge, crack, and wipe off down the road. Sanding is the sure step in preventing that, especially with wood cabinet doors.
But please, for the love of God, don’t cave into sanding these doors by hand – no matter where you read it! It does NOT do the same job as an electric sander. Not only do you need to sand down these doors enough to strip the original stain, but you’re also going to have more than 10 doors to do. Save yourself the hassle.
They’re not that expensive, plus if you’re doing a project like this – you’re likely to get more use out of an electric sander elsewhere at some point. I just have this little guy – handy, compact for small projects and it got the job done in a matter of a few hours.
For solid wood doors, use only 120 grit for sanding – this leaves a smooth finish. I made the mistake of buying 100 grit (as per what I read on another blog) and it left visible scratches you could clearly see through the paint. It will take you a little longer to do with 120 grit, but well worth it.
But you’re going to need multiple replacement pads for your electric sander. They need to fit the exact sander you purchase, so these are the replacements I use for the sander I purchased.
[mailerlite_form form_id=8]
Dry brush/wipe off the wood dust post sanding
This step is often missed. Not only will this create clumps as you are applying paint, but it can hinder the paint from adhering to the wood. You want a clean, smooth surface after sanding, so be sure to dry brush or wipe down every door thoroughly when completely done sanding.
Apply Primer religiously
NOTE: When beginning the painting application process, always start with the BACK SIDE of your cabinets. You never want the front side to sit face down, ever. It refrains from possible scratches, debris and smudging.
For this DIY, I used both a separate primer, and a paint with primer. Like I said – I wanted to do this right, without skipping crucial steps. Many times I feel that I go the ‘easy way out’ because people say you can, and my project turns out a disaster. That’s because the ‘easy way out’ isn’t for everyone and everything. And refacing your cabinets isn’t one of those cases!
I laid out a large painter’s tarp out in my garage so that I could lay down every door. Make sure to have a tarp, or extra sheet you don’t mind use and getting paint on. Many will say they used a cardboard box to lay each door on so that it’s up and off the ground – that works, too – but then eventually you have to pick up and move that door just to begin painting another. Sounds like extra work in my book, so I used the tarp.
I started with the Kilz Primer – it’s top rated, water-based, stain resistant and covers old paint colors with just one coat. But I never believe that, so I used TWO coats. And sure glad I did – can’t go wrong with double protection!
For application, I used the small 4-inch roller with foam rollers. For this task, use FOAM ONLY when applying paint to wood cabinet doors. Why? You won’t have paint streaks showing through, leaving you a beautifully smooth paint surface to compliment the wood grain.
TIP #2: roll with the direction of the grain of the wood. And don’t overload your foam roller with too much paint. You don’t want drips or caked on areas of paint that are prone for smudging.
And if you have divets and grooves on your cabinet doors like mine, I used these foam applicator brushes. They’re cheap, and if you just by them by the pack – you’ll save yourself having to wash and reuse them like I did. These are simply great for getting deep in the cracks and touch ups without the streaks. And again, paint in the direction of the grain – long smooth strokes.
Again, I advise more than one coat of primer. So I did two coats on the back – allowing to dry for a couple hours in between coats. Then, I flipped them and did two coats on the front – allowing to dry for a couple hours in between coats.
And, of course, obviously prime your cabinet trim and shelving! I even used two coats for those areas, too, since I was dealing with not wood, not plastic, but plywood based cabinetry for shelving.
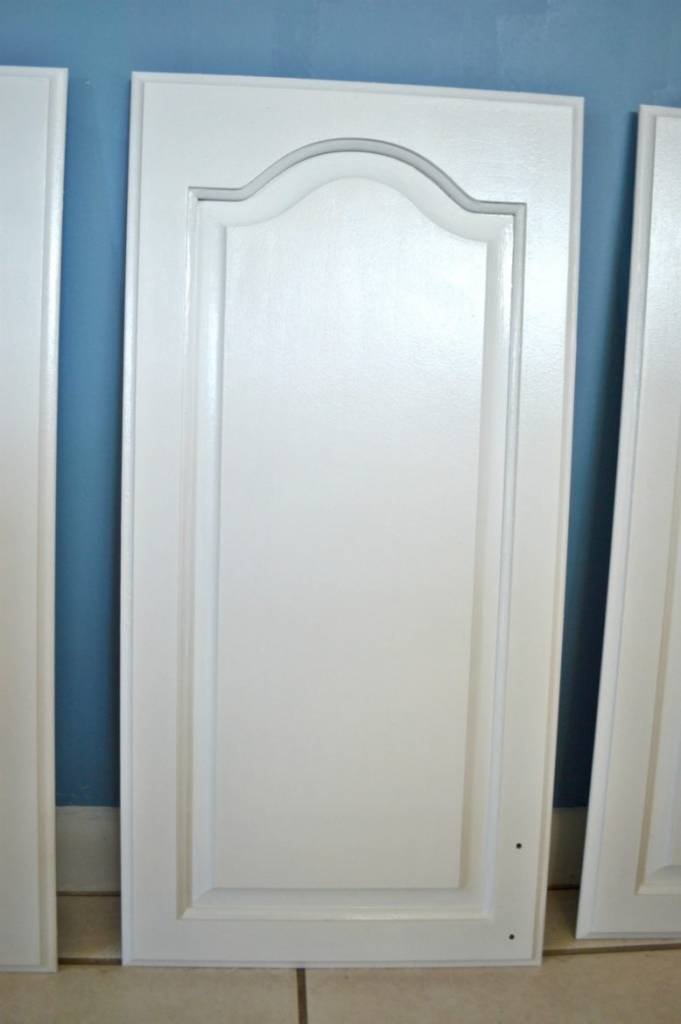
Applying the paint/primer
And here is where I freaked out and said there’s no turning back! Even though there was no turning back the moment I added primer to my doors. But I will admit I was a little apprehensive.
For paint I used a high gloss paint and primer. The rep at Home Depot said high gloss oil-based paint would prevent water and other stains from setting in the paint. And is also chip resistant – so I was sold there. That’s just something to think about paint wise if you are wondering what type of paint to use.
I repeated the same steps as when using the primer. I started with the BACK SIDES of the doors first.
- With my foam brush, I did the divets and grooves first.
- Then, using the 4-inch roller and foam rollers, I went with the grain of the wood, using light long strokes and minimal paint on my roller to avoid drips and smudging.
Since my top cabinets were white and bottom a lighter blue – I did 2-3 coats. Let’s face it, I needed perfection for this part in the game. I let every coat dry for over 12 hours (so, overnight, or a coat in the morning and another coat at night). Then I repeated the two-step process above.
Mind you, this was timely – it took me nearly 3-4 days in total (really in a week’s stretch) to get the painting done. This may not be required for someone else – but my cabinets were a dark oak and I wanted them white. It was crucial to not be able to see the oak coming through.
NOTE: if you are painting your cabinets a lighter color – BEWARE – there is a common side effect of painting light colors on older wood. You may notice that your primer/paint on the wood turns a light yellow – this is caused from the original wood. So for as long as you have used a primer, and a paint and primer, multiple coats should be able to cover the ‘yellowy tinge’ on parts of your cabinets. This is why I highly, highly recommend sanding and priming your wood cabinets!
*UPDATE 2/1/2020 – Overall, the white cabinets have held up nicely after two years. There IS a slight visible yellow tinge on parts of the white cabinets I put back up (since I decided to keep some of the doors permanently off). I started noticing this after about a year and a half in. It isn’t very noticeable unless you’re looking for it and it doesn’t seem to “worsen”, but it is there. I am likely going to go back in with paint/primer and poly this year to do some touch ups in these areas, but hey, after 2 years they are still visibly white.
This happened with me for not only parts of my doors, but areas of the actual cabinetry that was built-in around my oven (which was wood in one particular part). I must have used about 4-5 coats over those spots in order to conceal the ‘yellowy’ tinge poking through. The important part is letting each coat dry completely before adding another. It worked out very well using primer and paint and primer in this case!
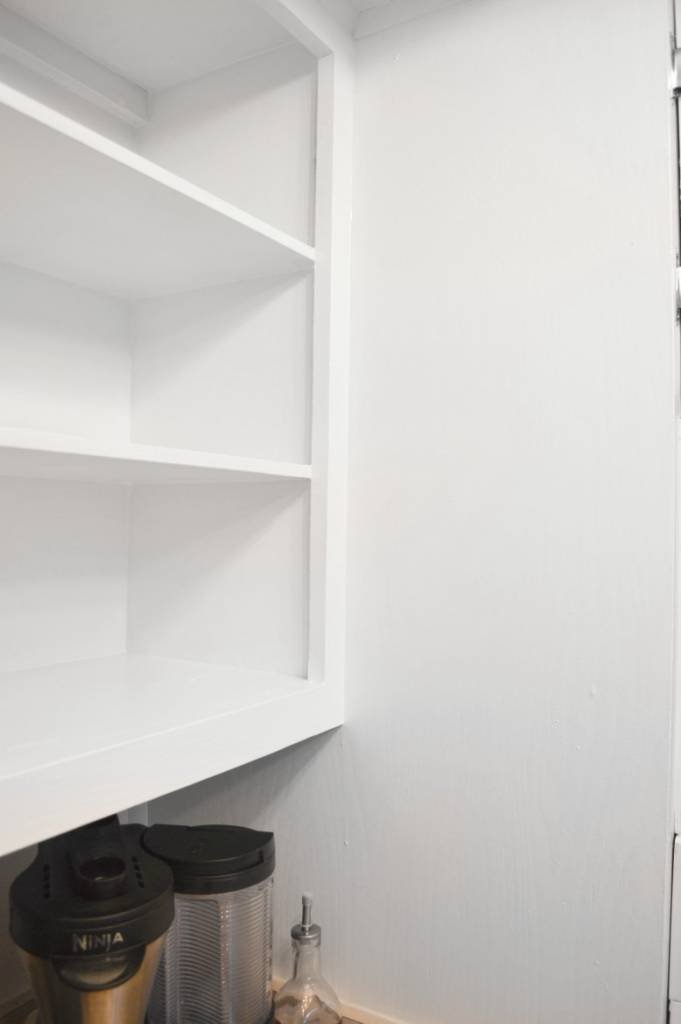
As for painting the shelving interior and trim, three coats were actually required in this case – because ultimately, in the end, decided not to even use all of my cabinet doors. I now wanted the more open appeal, as shown below. But I continued using the 4-inch roller and foam rollers, as well as the foam applicator brush to get the corners and edges smoothly.
TIP #3: the trickiest part of the painting process: the edges of your cabinet doors! I became so frustrated at one point that I just said, “Screw it! I will paint the edges of the cabinet doors when they are back on their hinges…” And that’s exactly what I did, and it actually helped that way.
Just remember to finish everything with your protective finish (polyurethane).
Re-installing hardware and cabinet hinges
While if you didn’t wood fill your hardware and hinge holes, this should be quite an easy task! But for me, it was another few days in itself to measure how exactly the placement of the doors and hardware. This was the part that I completely understood why people pay 15 grand to have their kitchen redone.
And I even completely upcycled my hardware – check out that tutorial here!
Touch ups and small additives
Using the foam applicators, make sure to go back and touch up any knicks you may have encountered (I had plenty) or getting the edges of the cabinet doors done (going this route made that step a lot easier).
I went in and added the foam bumpers to my cabinet doors, which were non-existent before this project, and I waited at least 48 hours for the paint to set and dry before moving things back into the kitchen.
As for the floor of my bottom cabinets, I added in these extra vinyl planks I had from another DIY project. I thought of this as a good way from keeping the bottom getting scratched up by my heavier kitchen appliances.
Problems I ran into thereafter
The only downfall of this entire project was a slight stickiness factor on my shelving. Heavy objects seemed to have a slight stick tendency for weeks. So I decided to go in and add polyurethane to my shelving to try and eliminate that stickiness and add an extra level of stain protection.
*UPDATE 2/1/2020 – That stickiness eventually did go away after a few months (I know, a looong time). I actually found clear contact paper that I used for my very top shelves. The concept is great, but they were extremely difficult to put on (at least for me) and I didn’t really care for the way they made my shelves look thereafter (kind of blurry and bubbly, I guess). So I didn’t pursue the contact paper on the other shelves and waited out the stickiness. Fortunately, I never experienced any peeling or chipping of paint from the stickiness.
I realized that a MAJOR part of the problem most likely comes from the fact of having to rip out original contact paper that was used on the shelves, which in turn made the surface very sticky even after wiping it down with degreaser cleaner multiple times.
[Eye roll/Shaking my head]
A really stupid problem to have, honestly. So if this is your situation, too, use whatever goo-gone, degreaser, scraper, paint thinner or stripper you can find PRIOR to painting. I wish I would have gone the extra mile to get rid of that stickiness first. Now I am considering installing Plexiglas or a liner to my shelves to rid of the sticky problem.
Otherwise, this DIY was seamless all in all! I am very happy with the results, yet I would never do this DIY again in the future. Except for the few touch ups now and then – as expected!
After

What problems did you run into when painting your kitchen cabinets? Did you do anything different?
If you have any questions regarding this DIY, don’t hesitate to ask!