
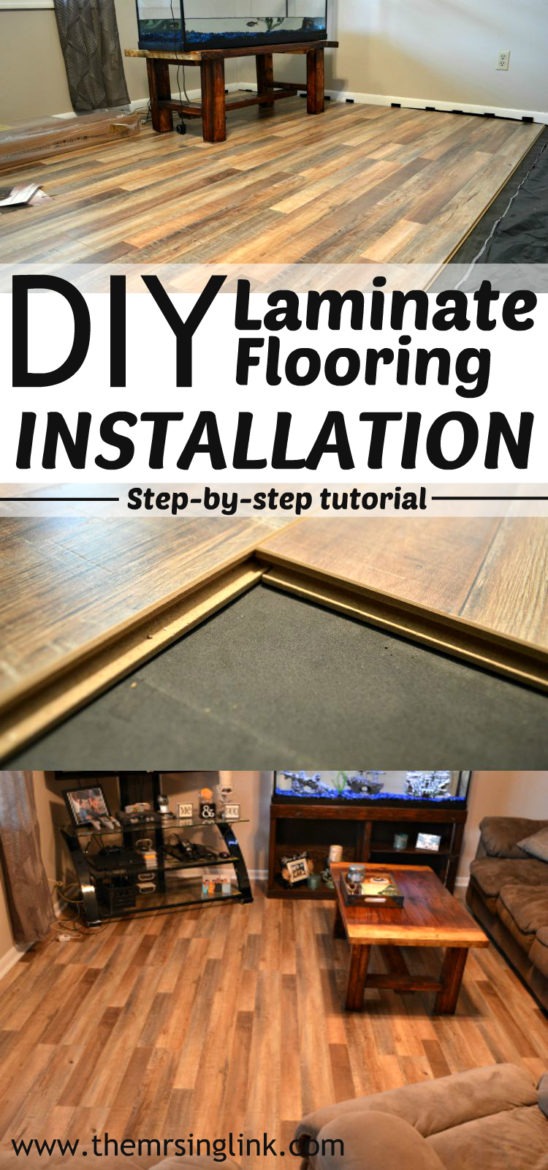
Installing laminate floors on your own can seem out of the question…
But it can be done!
Although with a few bumps, scratches and sore hands along the way, I was able to install laminate floors without any previous knowledge. And I’m no math wiz to say the least – I had to have my husband for all of that. Plus, he wanted to do the part in cutting the pieces, so I let him have that credit.
And let’s just say he did not have the top notch craftsmanship. But if you’re at Home Depot, Lowe’s or any flooring store debating whether to spend the extra money on installation – please consider the fact that if you’re looking to install Laminate, there is no reason not to do the installation yourself. They literally lay down like puzzle pieces. It’s really that simple. You just need the proper steps, and patience.
Once you have picked your flooring, one of the biggest things we were told was to make sure we had the highest quality UNDERLAY, and regardless of where you live, MOISTURE BARRIER sheeting is just a must. These usually can be ordered with the flooring you purchase, or it may come in with the price. But the moisture barrier sheeting may come separate.
Now, a lot of places say the underlay is already a moisture barrier itself, but I live in Florida, so if you don’t know already it is the state known for 100% humidity most of the year. And I’m over-analytical – I think of the possibility of a pipe burst, or roof leak and I’m sold.
When you order flooring, do yourself a favor and order MORE than you actually need. Trust me. It’s worth the extra tiny squeeze of money, especially with laminate. If you mess up on a board or two, it won’t hurt you. And if down the road (many, many years) say you have a high traffic area that appears kind of dull, or you scratched up a board beyond repair – guess what – you’ll have some extra boards in storage to replace the area with.
Some required materials you’ll need:
- Laminate glue
- masking tape
- quarter-round molding, baseboard or wall base
- T-molding, stair-nose or threshold transition to other flooring (your flooring may come with this, or you may have to purchase separate. More information about this later in the post)
- tapping block and spacers (DO NOT FORGET THESE – these will become your lifeline)
- hammer
- tape measure
- hand saw (we got away with that one, but if you’re wanting to spend extra money to make your life easier, purchase a table saw, miter, circular or jigsaw)
- utility knife or box cutter knife
- pencil or chalk
Installation:
First things FIRST: It is advised to let your laminate ‘stew’, or sit for a few days in your house (in the boxes they come in) to allow for adjustment before laying them. Keep this in mind before moving furniture and wanting to dive right into the process.
We started out with a clean terrazzo floor, which is literally what we were living on for years (no carpet, vinyl – nothing!) It made the process pretty easy because we didn’t have to tear out flooring first. Just a few nails left sticking out of the ground along the baseboards. The only thing we didn’t do was remove the baseboards or any doors. We wanted the flooring flush up against them. But if you need to remove yours – do that before installing.
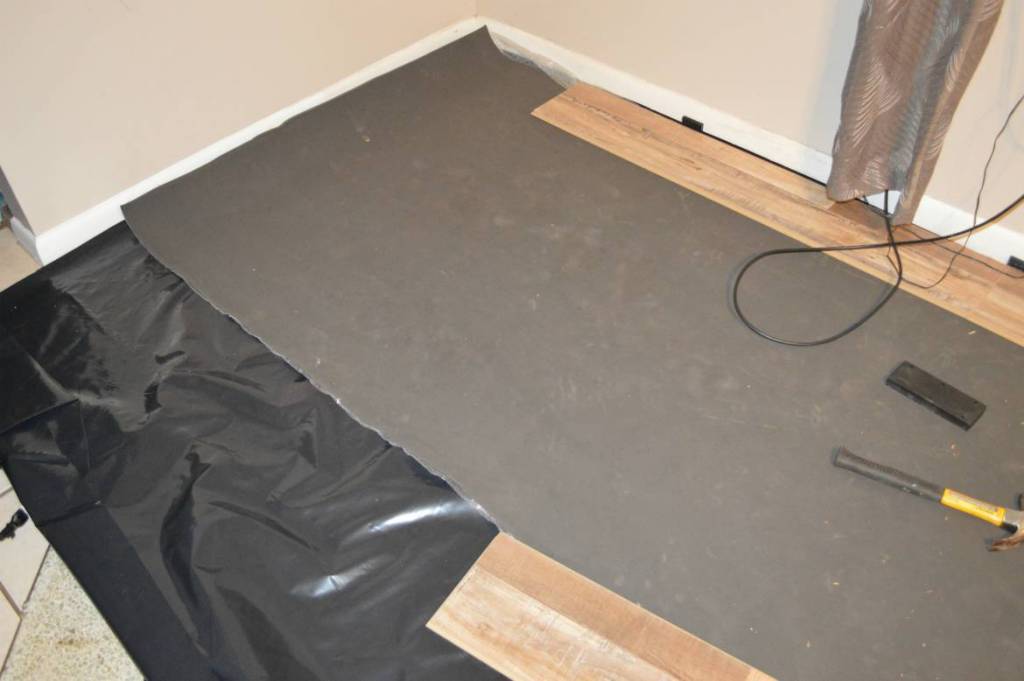
STEP ONE: Lay down the moisture barrier sheeting and underlay padding
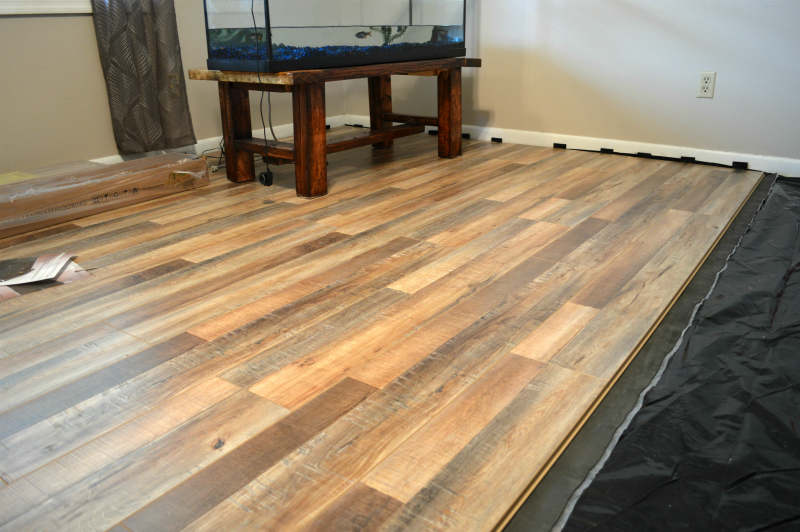
Once you have a clean, debris free surface to work on, your first step is to add the barrier and underlay. The moisture barrier sheet first, then the underlay padding. It should lay out mostly flat and smooth as possible. Cut any excess you have, and don’t overlap the underlay, because you want an even flat surface for your laminate pieces. You can tape these in place if you need to (the underlay should be as close to the wall or baseboard as possible). From the image below, we cut our underlay into sections due to our odd shaped room.
STEP TWO: Begin laying your first row of laminate boards
When you lay the first board, preferably starting in a corner section of the room, be sure to use the spacers you bought because you need to leave at least a quarter inch (1/4 in.) gap from the board and the wall. This is because the boards over time will contract and expand due to humidity and temperature change. This is very important because you do not want cracked boards or air pockets under your floors in the future.
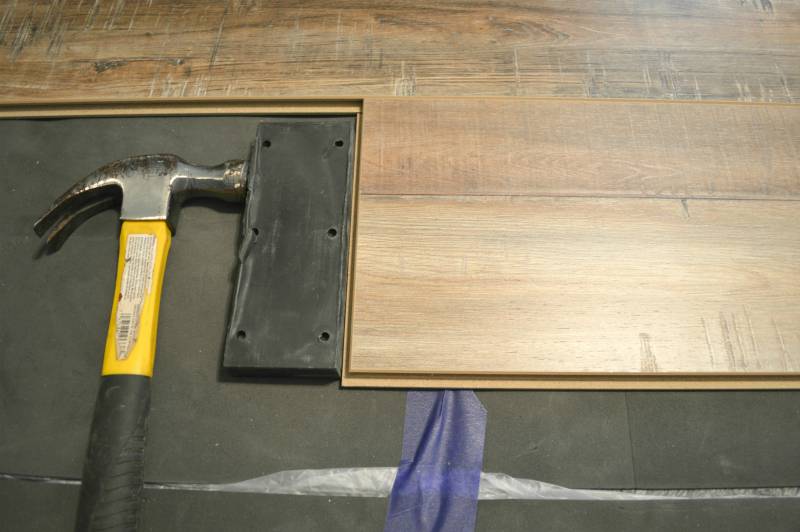
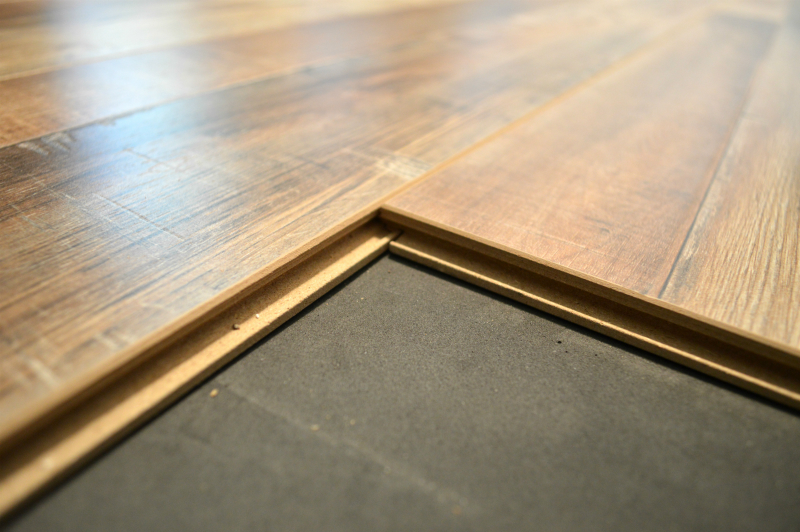
After you’ve laid your first board and now the second, the pieces are going to require your eyes to see that the pieces are completely intact (like two puzzle pieces). It is recommended not to use the tapping block for the first row because you will essentially tap the boards down and it will remove the 1/4in required gap between the board and the wall. Once you have laid 3-4 pieces down you can lightly use your tapping block to ensure the pieces are tightly bonded. You will know what I’m talking about when you do it for yourself. Once you have laid the second row and on, you will start tapping all open sides to ensure each side of each piece is bonded together. From the image below, I would tap the side that the tapping block is currently laying, and also the side along the length of the board as well to ensure that piece is bonded with the adjacent row.
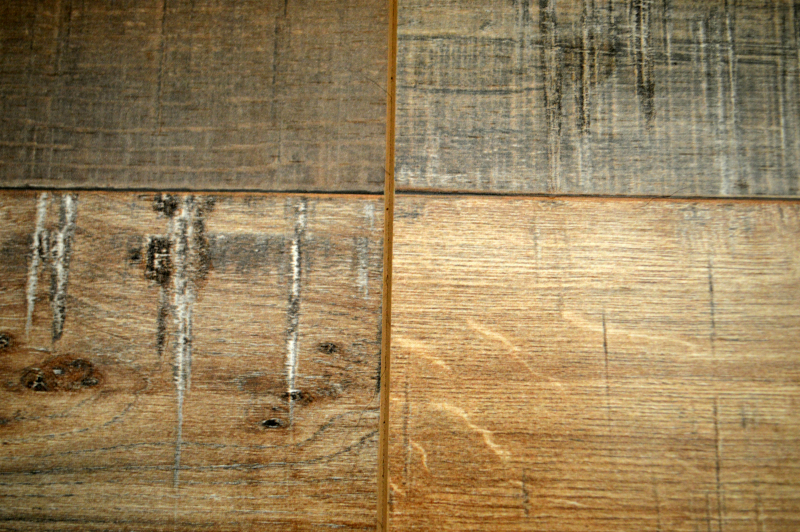
Here is a photo that basically shows how the pieces fit together. You will need to play with these, and trust me, it will take many tries to get some pieces just right. Don’t give up.
*Tip: take BREAKS. Seriously. I became so frustrated at certain points when some pieces seemed to fail to fit properly. It took us over a week to finish after a stomach bug and many frustrating kinks.
Once you reach the end of a row you may have to cut boards, which is fine as long as you cut it correctly (make sure you know which END you will need to use to match up before you cut the boards – mark with a pen). Then you can use the other piece of that cut board to start a new row. It adds a nice variation in sizes of the boards rather than cookie cutter looking laminate. Notice the spacers along the wall? Keep those in place during the whole process, til you are completely done laying all boards. (These are your 1/4in gap spacers)
When you have completed, you can take the spacers out. But I recommend going back and scanning each board to make sure there are no gaps (some of ours had popped out somehow, and we had to go back and tap them into place using our 1/4 inch gaps – I was beginning to wonder if that’s really what the gaps were for in the end!).
Connect with me on Twitter, Instagram & Facebook so you don’t miss the latest blog updates!
STEP THREE: Add on your quarter round or base boards, and T-molding…
The quarter round portion was easy, but the most DIFFICULT part of this entire process for us was the evil T-mold. Maybe you won’t need one, but the T-mold is the transition between two different flooring. And we had that.
First of all, ours was PLASTIC for some odd reason. I don’t know if that’s popular, easier to install or what. But it sure wasn’t. We had to cut it in three different places (and this plastic cut like CRAP), AND it wasn’t just a simple straight across T-mold – we were installing T-mold at an angle where two ends met. So if you can get away with not using plastic, please don’t use it unless you have a simple straight across piece (like between a doorway). T-mold Laminate Glue is the way to go when installing these (and go ham on it, then just wipe off any that begins to run). Then use something heavy to lay over it for a day or two until the adhesive has dried.
We must have spent two entire days and about 5-6 times back and forth to Home Depot, figuring out how we were going to cut plastic (because a box cutter was just not ‘cutting’ it, and it left our seams looking cheap and disgusting to the eye). We looked at wood versions but none that seemed to match color wise, and then we came upon the issue that our floors were too high for a regular T-mold, but too low for a stepper mold between our new laminate and our tile.
If it wasn’t for the T-mold, the entire experience went completely flawless (minus a few little hiccups, but hey, we were newbies at installing floors and carpentry).
So when you’re buying flooring, it would be wise to ask if it comes with a T-mold, and what kind. Also, figure out if you’re going to need something other than a T-mold if your floors are different levels. You can usually figure this out after laying the moisture barrier and underlay (just lay a piece of laminate up against your other flooring to see the difference in height (if there is one).
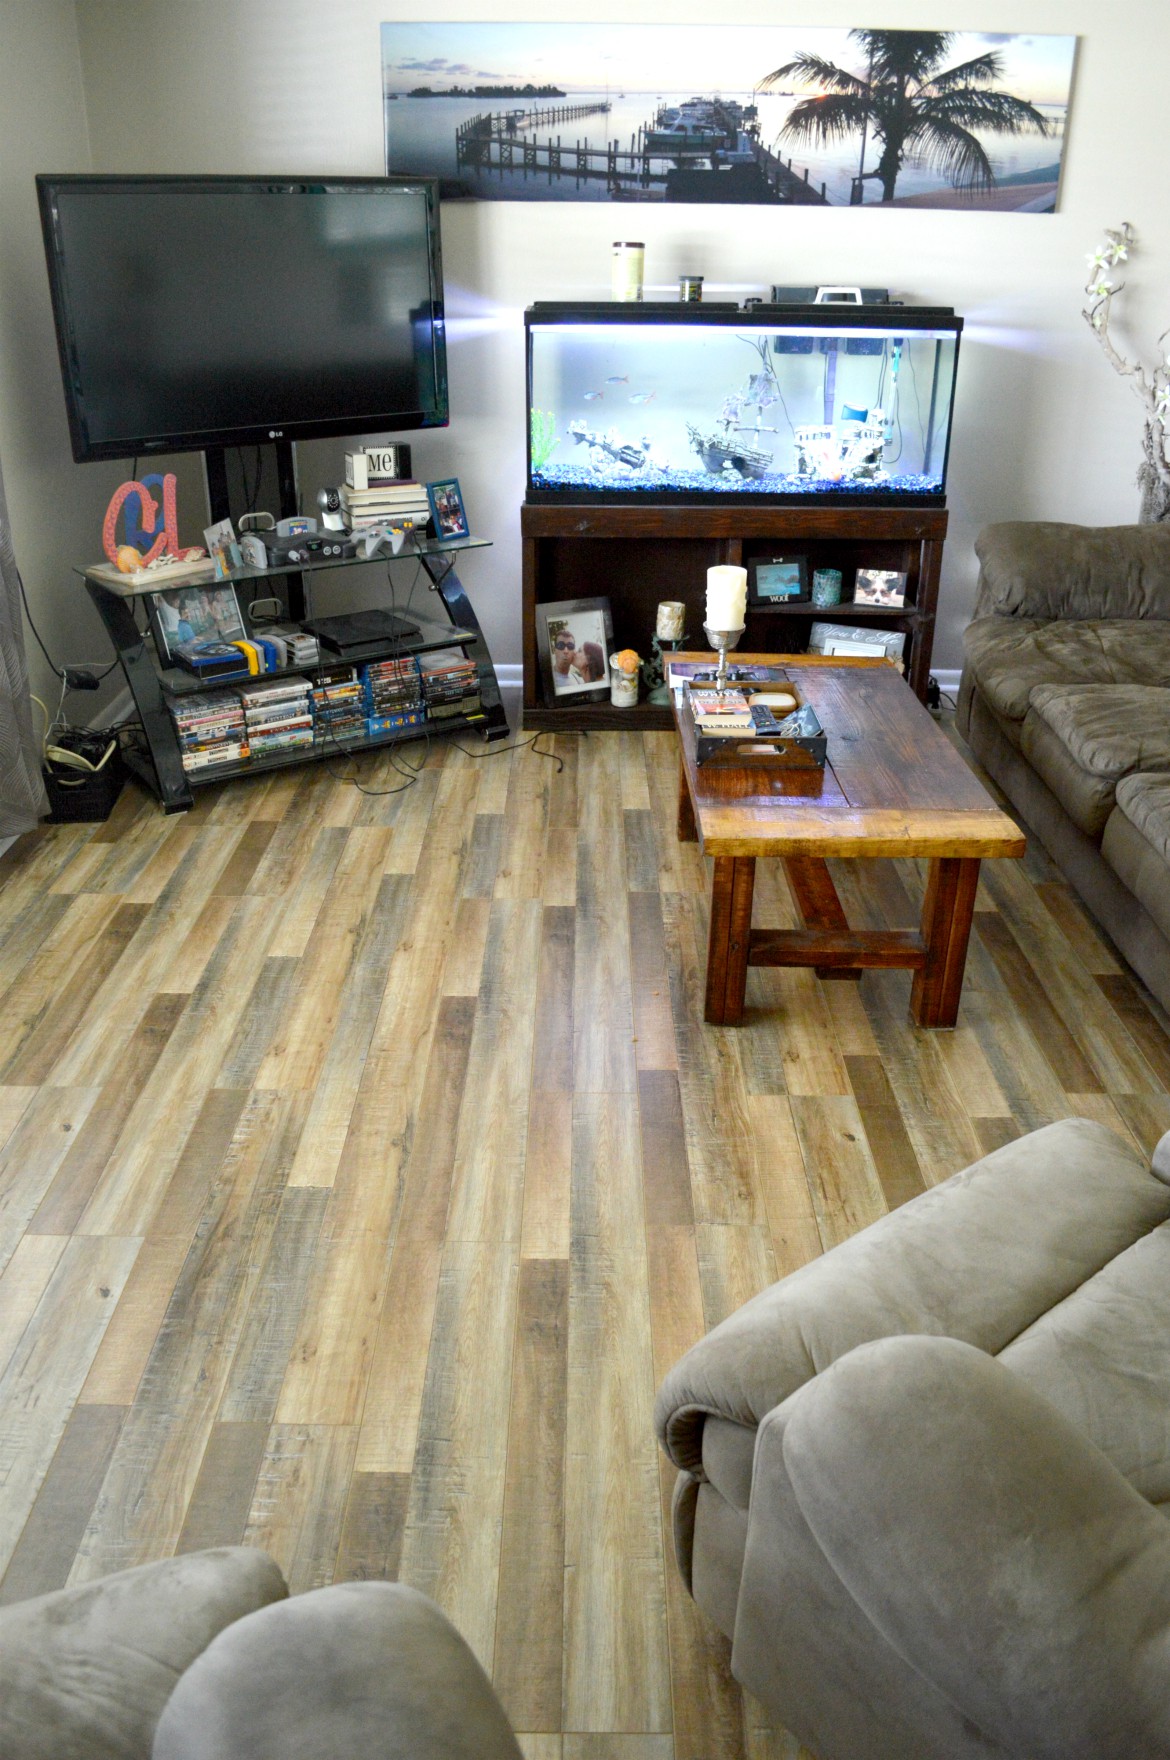
All in all, the final piece is really beautiful, and the floors are sturdy for our two dogs and barely make any sound when walked on. As long as you have all the necessary tools, patience, and a thorough handling on the steps to take, laminate floors easily be installed by anyone without flooring experience.